
My Favorite Verde Finish
Now that gardening season is on the horizon, you might be getting your pots and planting plans in order.
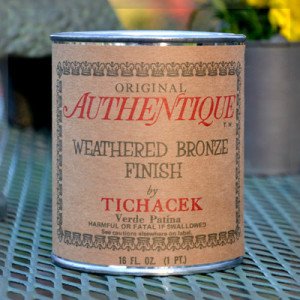
Have you ever heard of Authentique Weathered Bronze by Tichacek Finishes? If you are not from central Virginia, USA, chances are pretty good you have not. And unless you are a DIY painter, you may not have, even in “these here parts…” But it’s great stuff!
I use it on EVERYTHING that’s going outside that I want to look like weathered bronze or copper. Fiberglass pots, birdhouses, rusted metal chairs, garden statuary, etc etc. It also holds up very well! My mom used it when I was in high school and college on lots of things and I really like the look - so I kept it up. It gives things a nice older, finished look, without the expense or weight of real iron or heavy metal. So here’s how you use it…

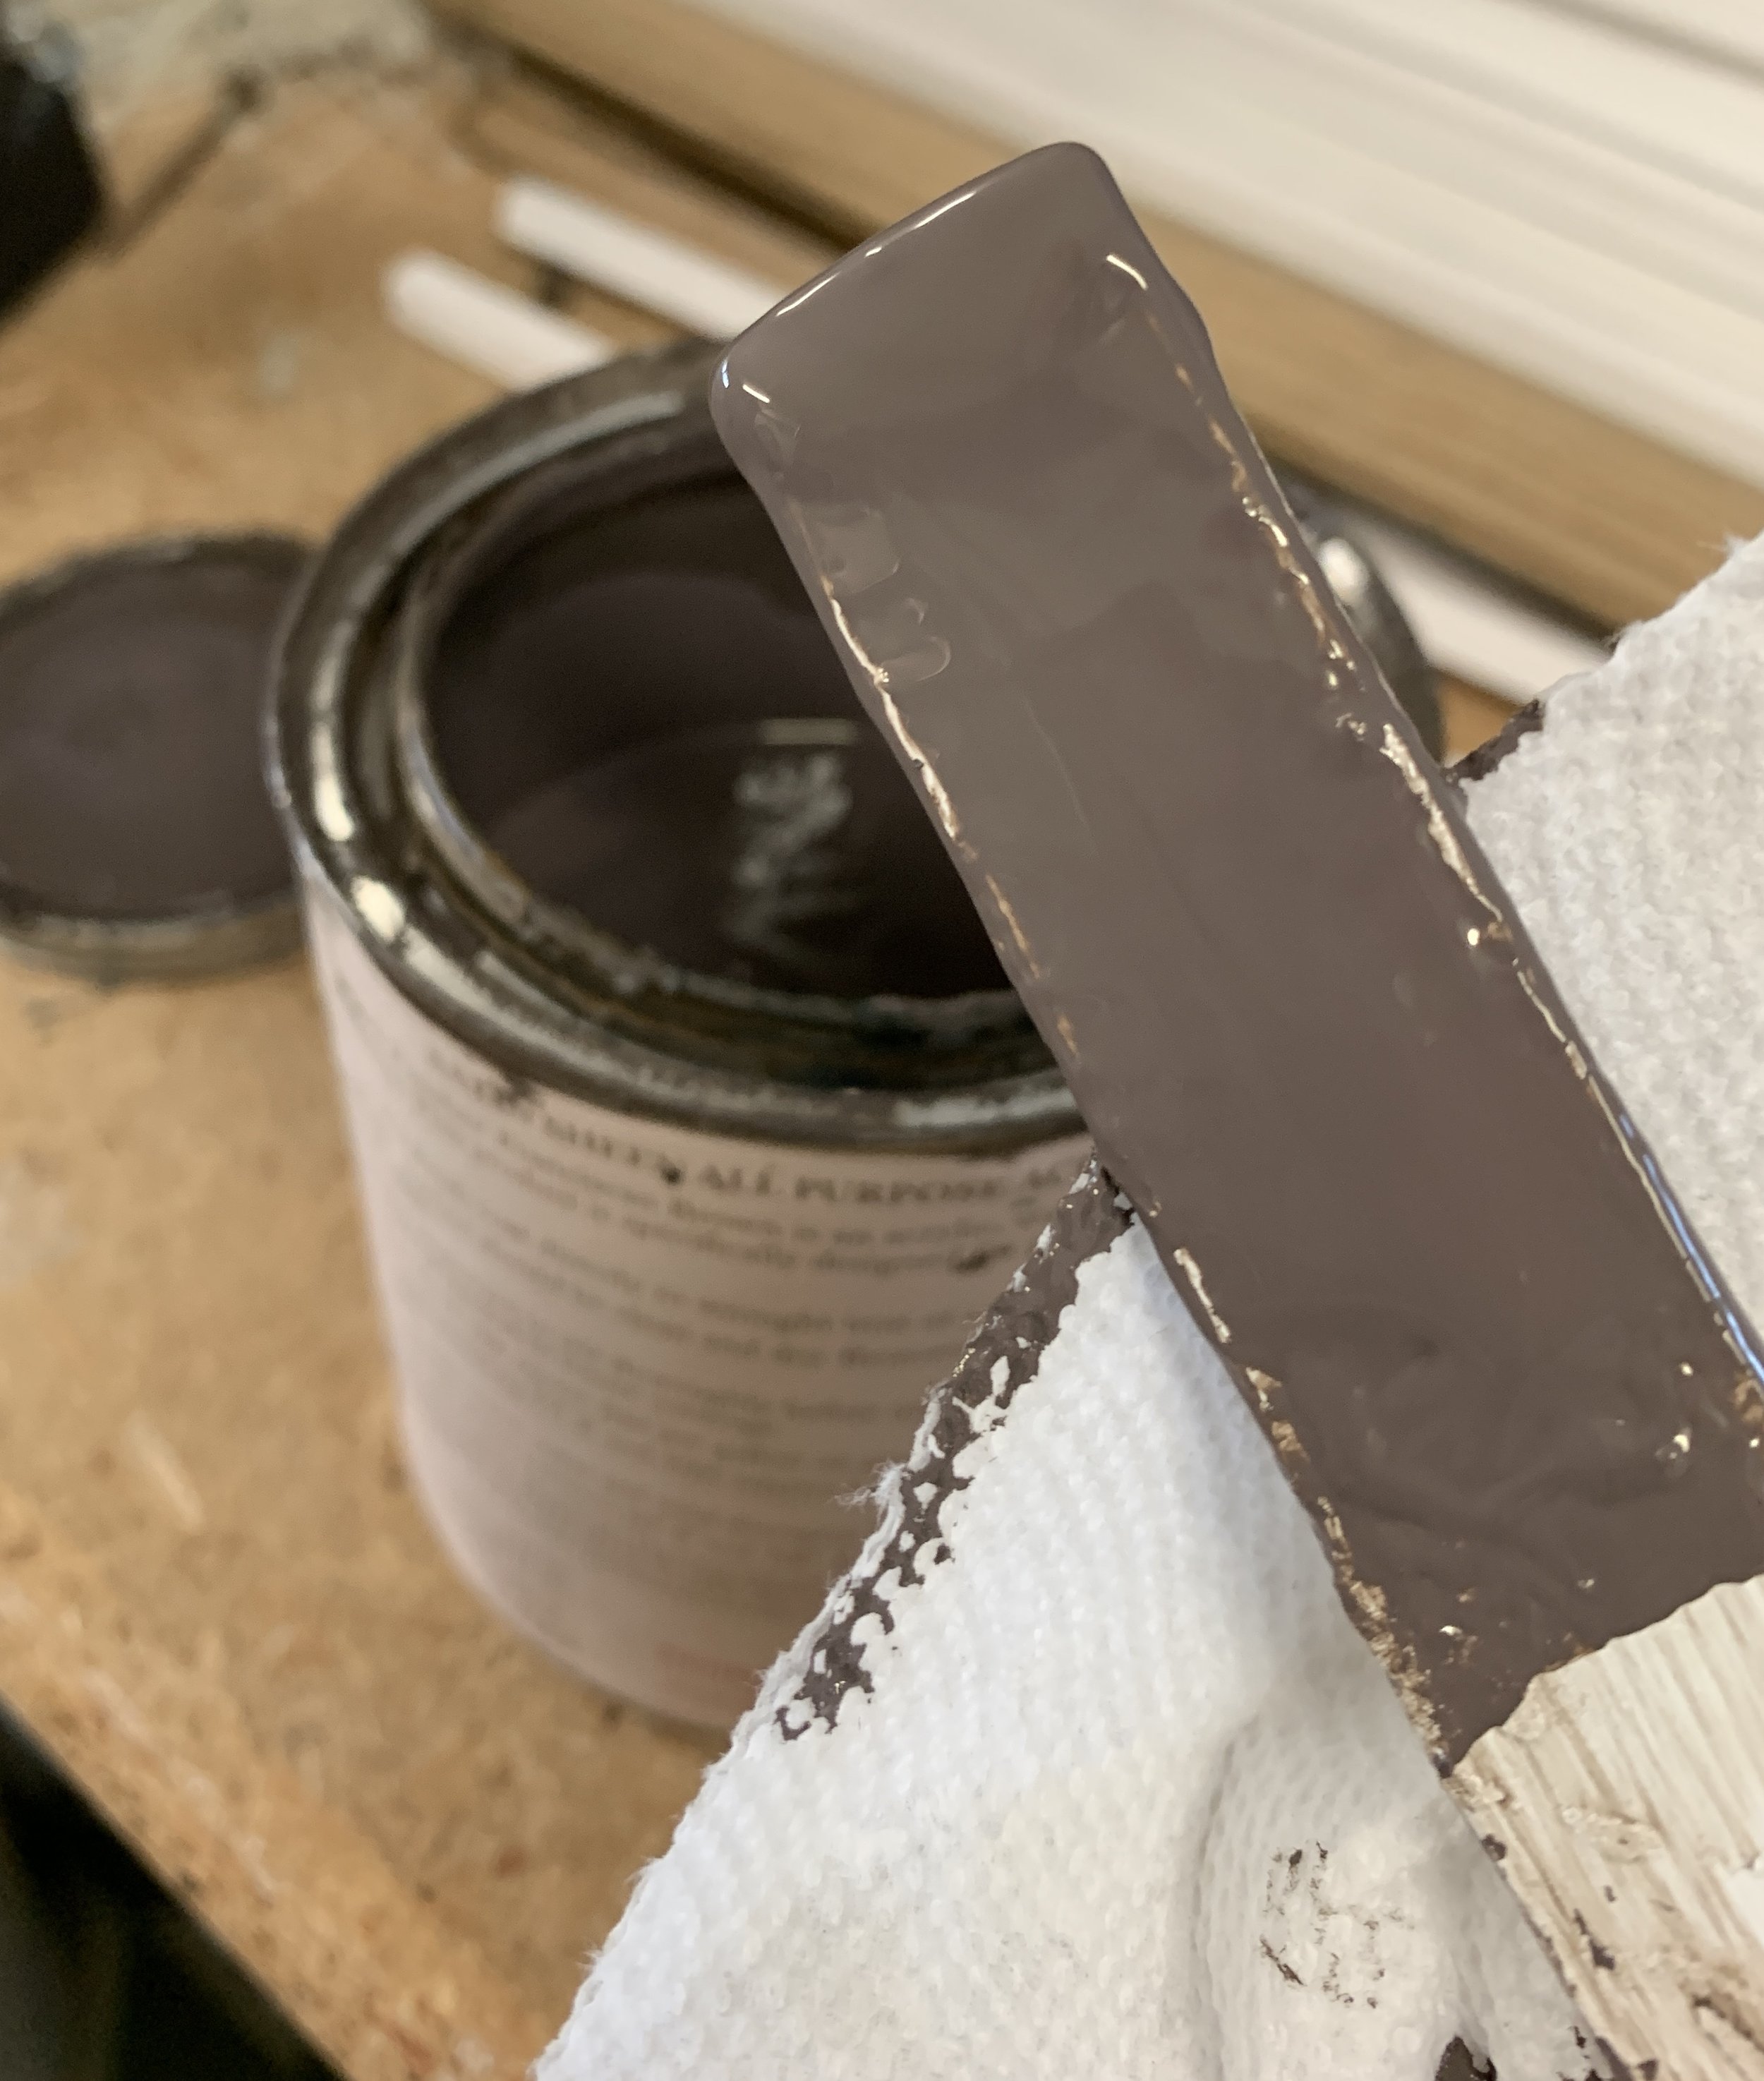

You use the brown “Franciscan Brown” first - it’s sort of a taupe gray-brown. This is acrylic water based paint, that is designed to be used on metal wrought iron and concrete. It’s very thick and if you coat your object really well - 2 good coats - it really lasts and protects. You can put your second coat on that same day.
After you are completely coated with that, and the brown has dried, you brush the green on and wipe it off. The green “Verde Patina” is also acrylic and water based paint, but much thinner than the brown. It is the finishing glaze for the brown paint.
I suggest you try it on a part of the item that is unseen, or on an object you don’t want, to get the feel for how it works and how you want it to look. You can put on a lot of green or very little. You brush it on and wipe it off with a clean rag about 10 - 15 seconds after you put it on. OR you can just wipe it on with a rag.
Then wait five or six days to put the finished project in the weather.
More info…

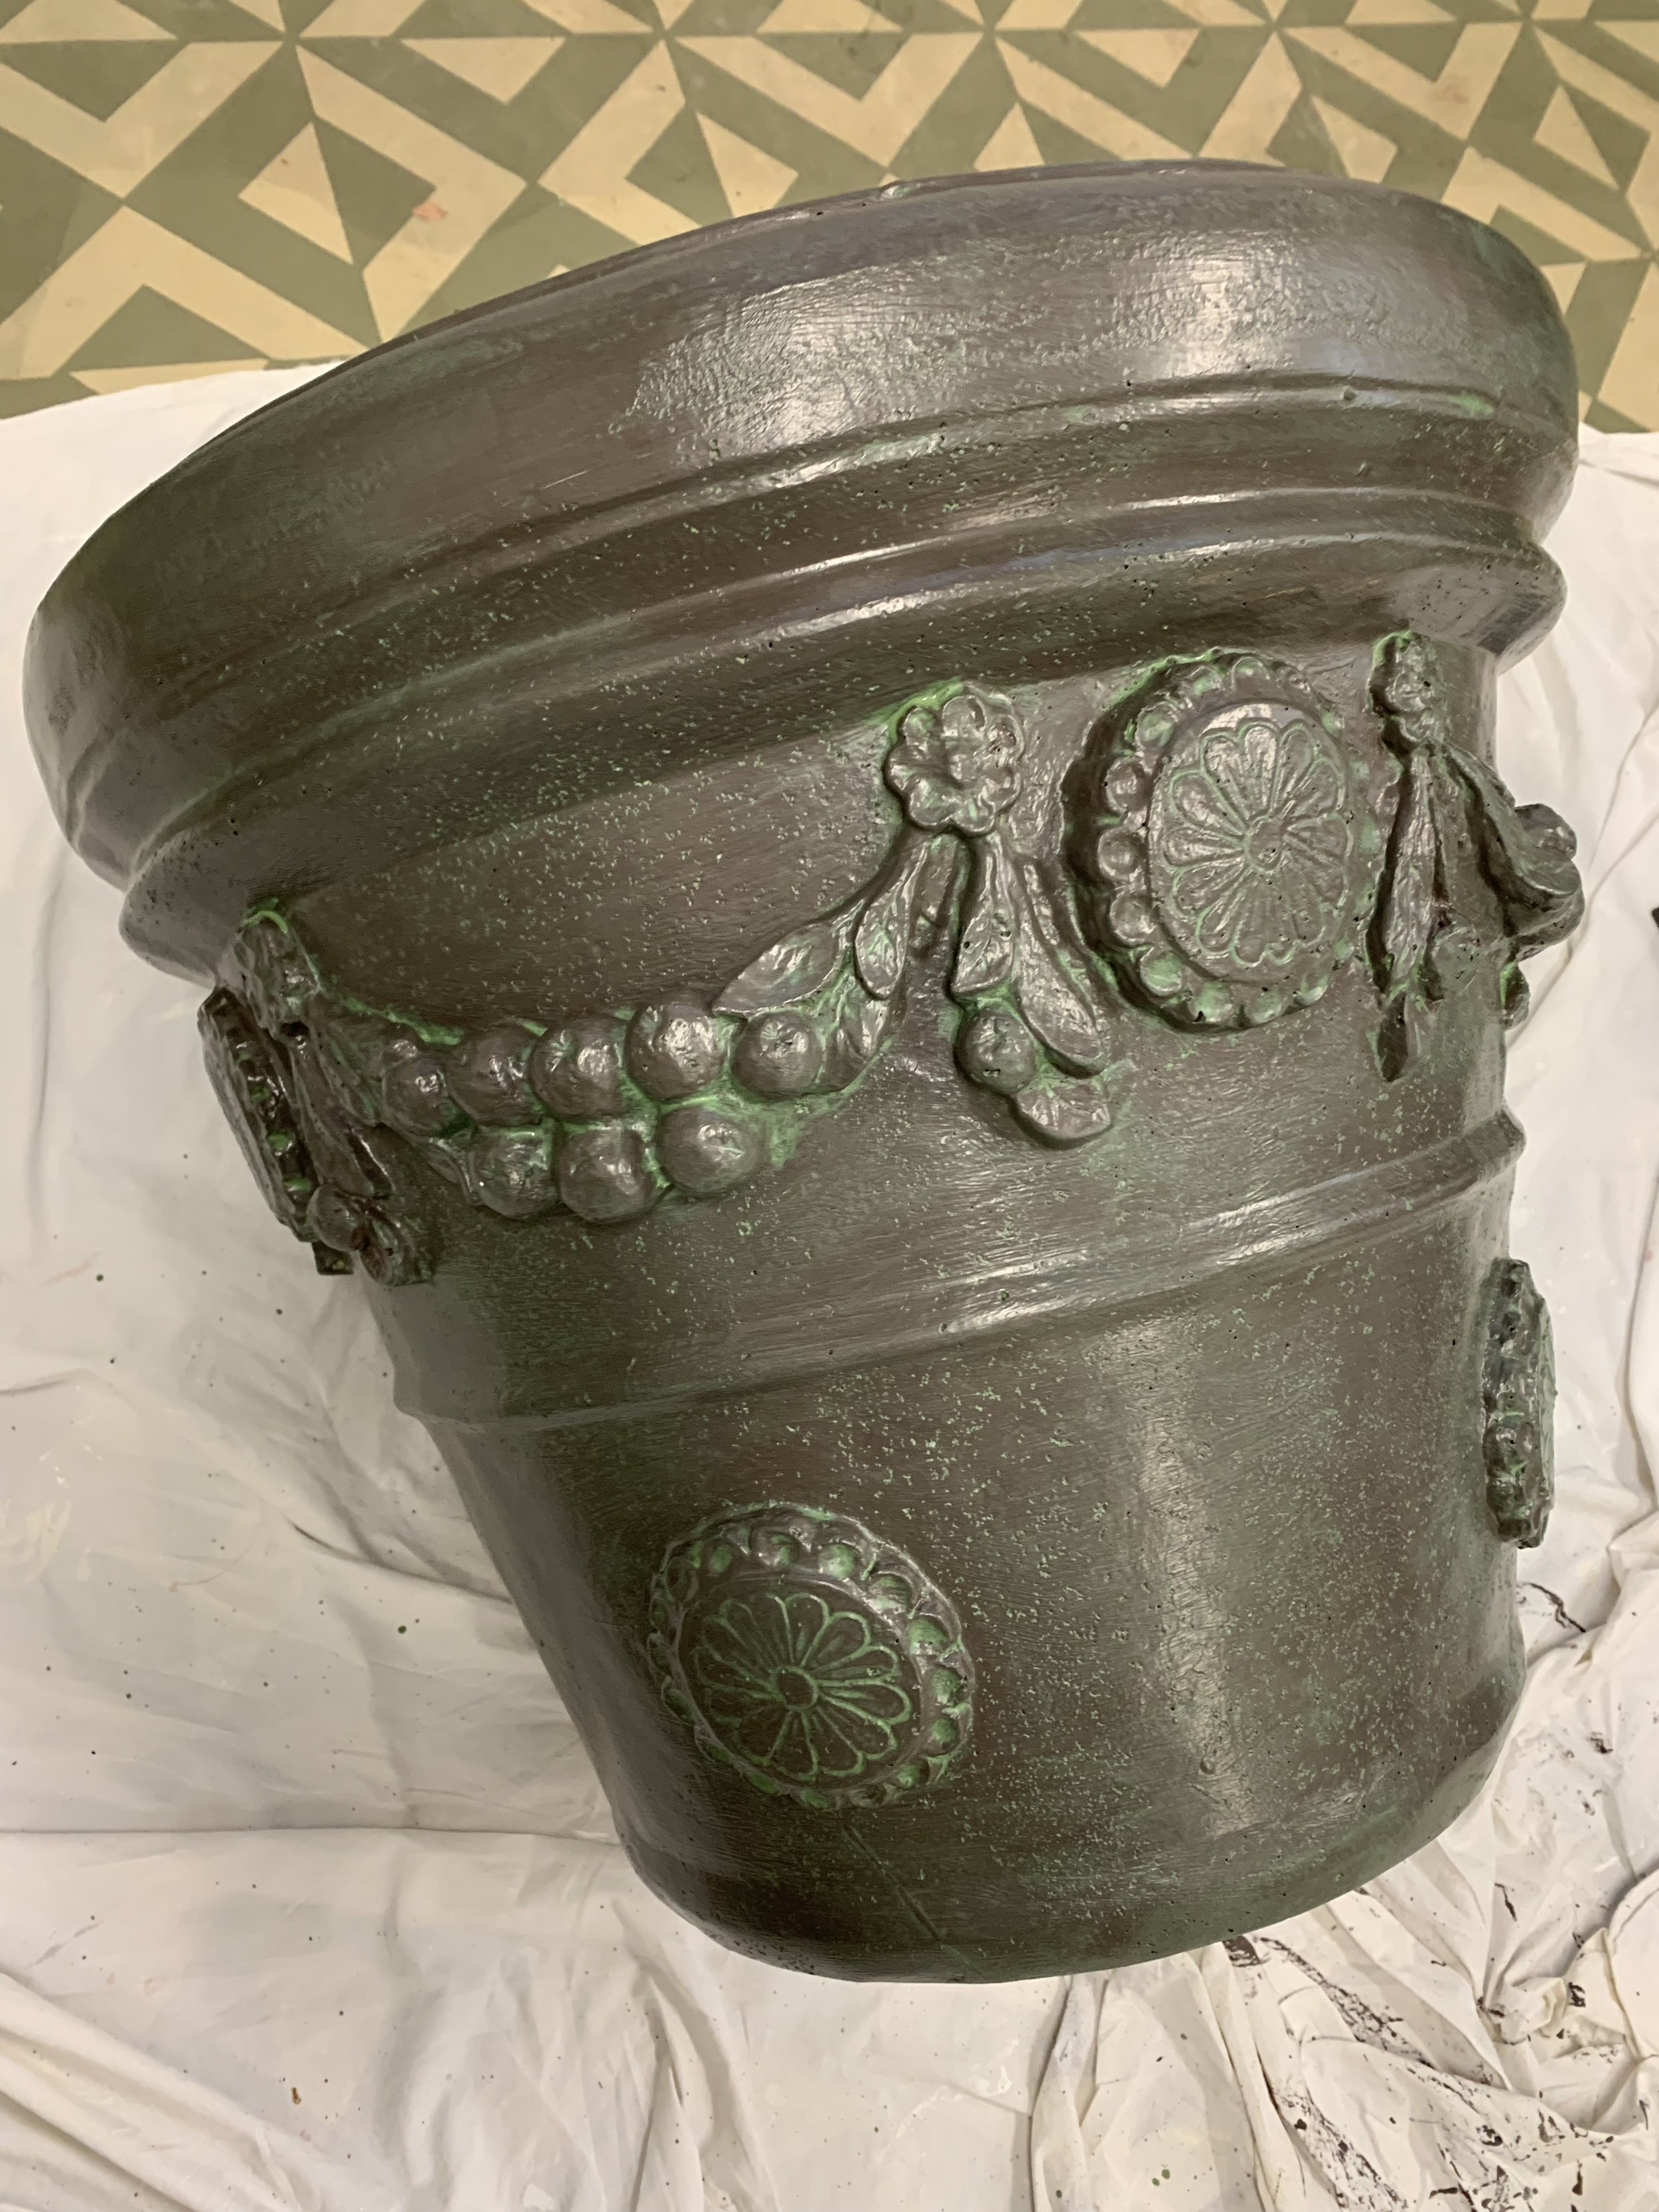
This is a huge pot that I painted for a rose to sit in and climb up on a trellis over my garage door. I have other things in that stone/green finish that I didn’t paint, but I wanted to paint this one.

Painting the brown paint on - first coat.
It’s important to stir the green well and then stir it during the painting as well. So sorry, I cannot find the image of my painting the green on. But here’s what it looks like immediately following.

My armillary before the green.

…and after the green…

A set of 4 iron chairs that were rusted, and the wooden seats that sit in them, with cushions on top. You can really see what the finish looks like on these flat surfaces.

The chairs were my mom’s and the metal seats are really bent and some are rusted out. We cut plywood insets to sit the cushions on.
I’ve done terra cotta pots…

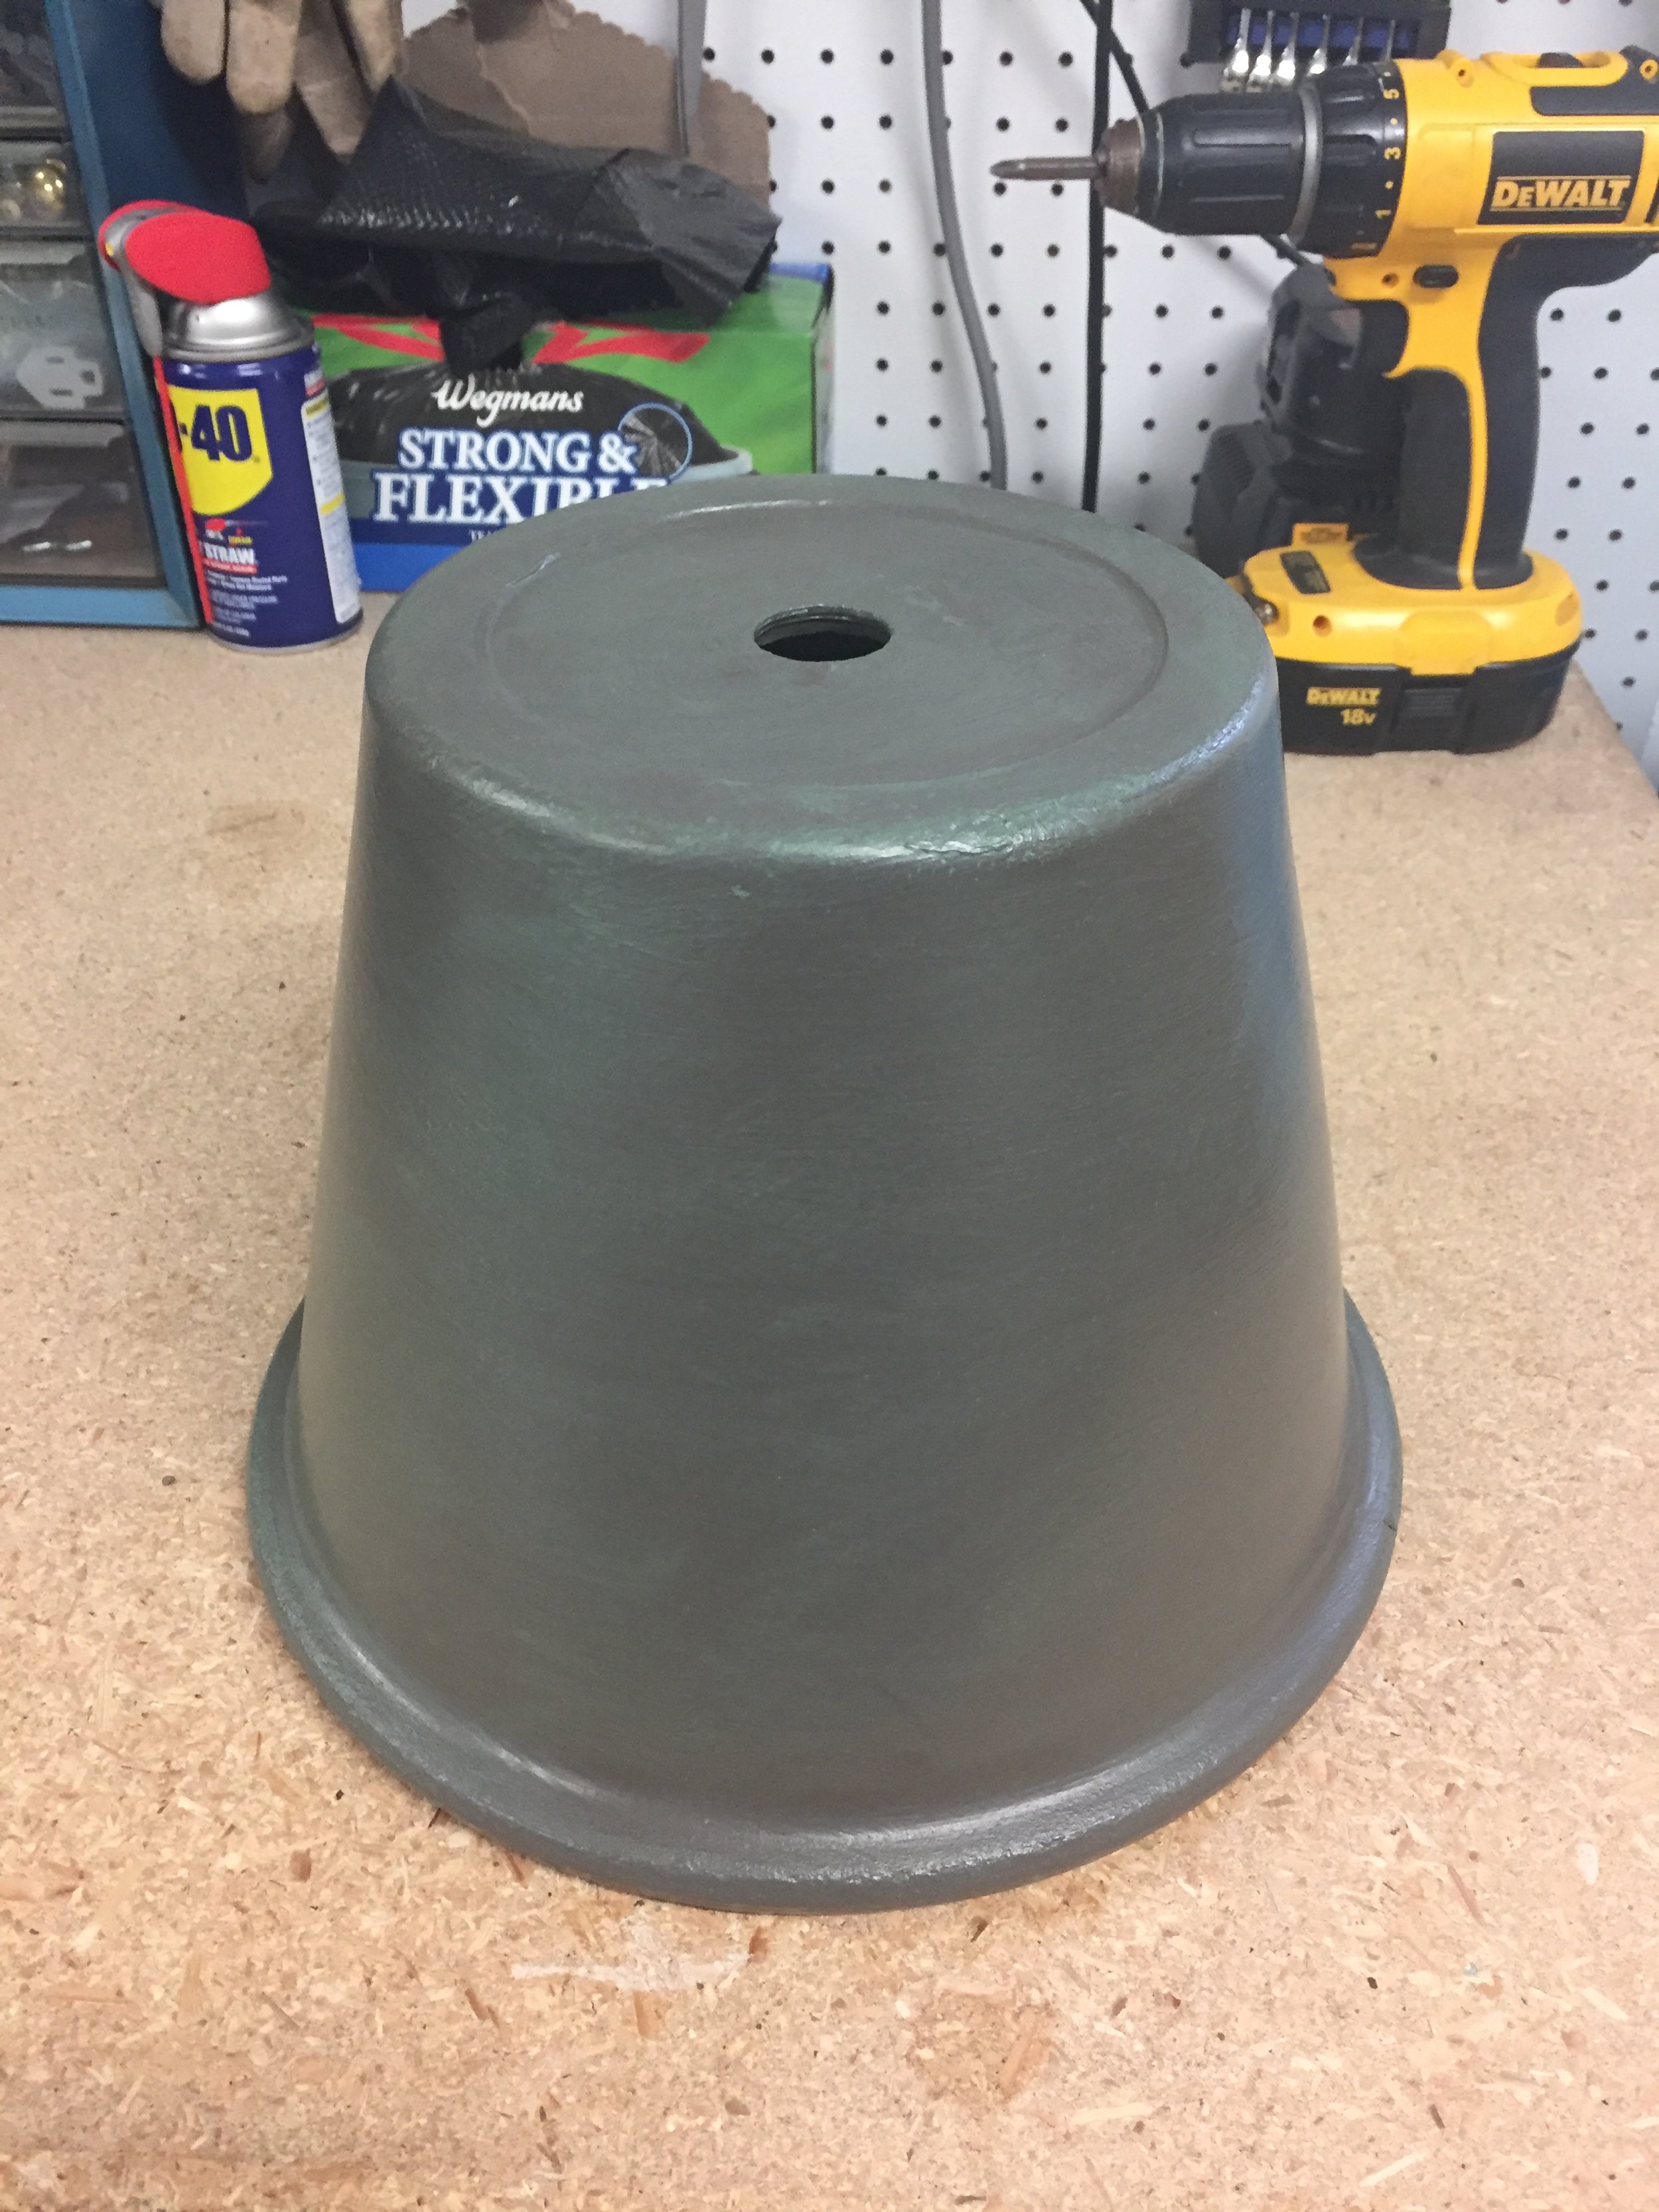
Plastic pots…

I did my hose pot.

Here’s my armillary today - this is 4 years later - so it is just now needing some touch up on the bottom. You can see it’s lost some sheen and has faded somewhat.

This is one of three huge pots like the first one I painted. They are all fiberglass, and are very lightweight. I have probably had this pot for 10 - 15 years and it’s been painted twice and had the edges touched up once. It is very heavy duty. These things sit outside year round and we have 100° weather down to 15°.
The pansies that overwintered are starting to grow! Yay! 🌺