
How To Do A Beautiful Mailbox

I have been decorating my mailbox like this for probably 20 years! I love the way it looks and it takes no time at all, once you’ve gathered your supplies. It never goes out of style - I have new neighbors comment on it every year.
I first saw the “how to” in Southern Living. I noticed this year, that the magazine had new mailbox ideas, for the first time in forever! But I still like this one the best…
supplies list
Two flora grand oasis cages with handles
Covered wire
Faux fruit
Pinecones
Wooden skewers
2” wired picks
Berries
Greens
Clippers - Felco #8 or #9 are good
2” - 3” wide ribbon
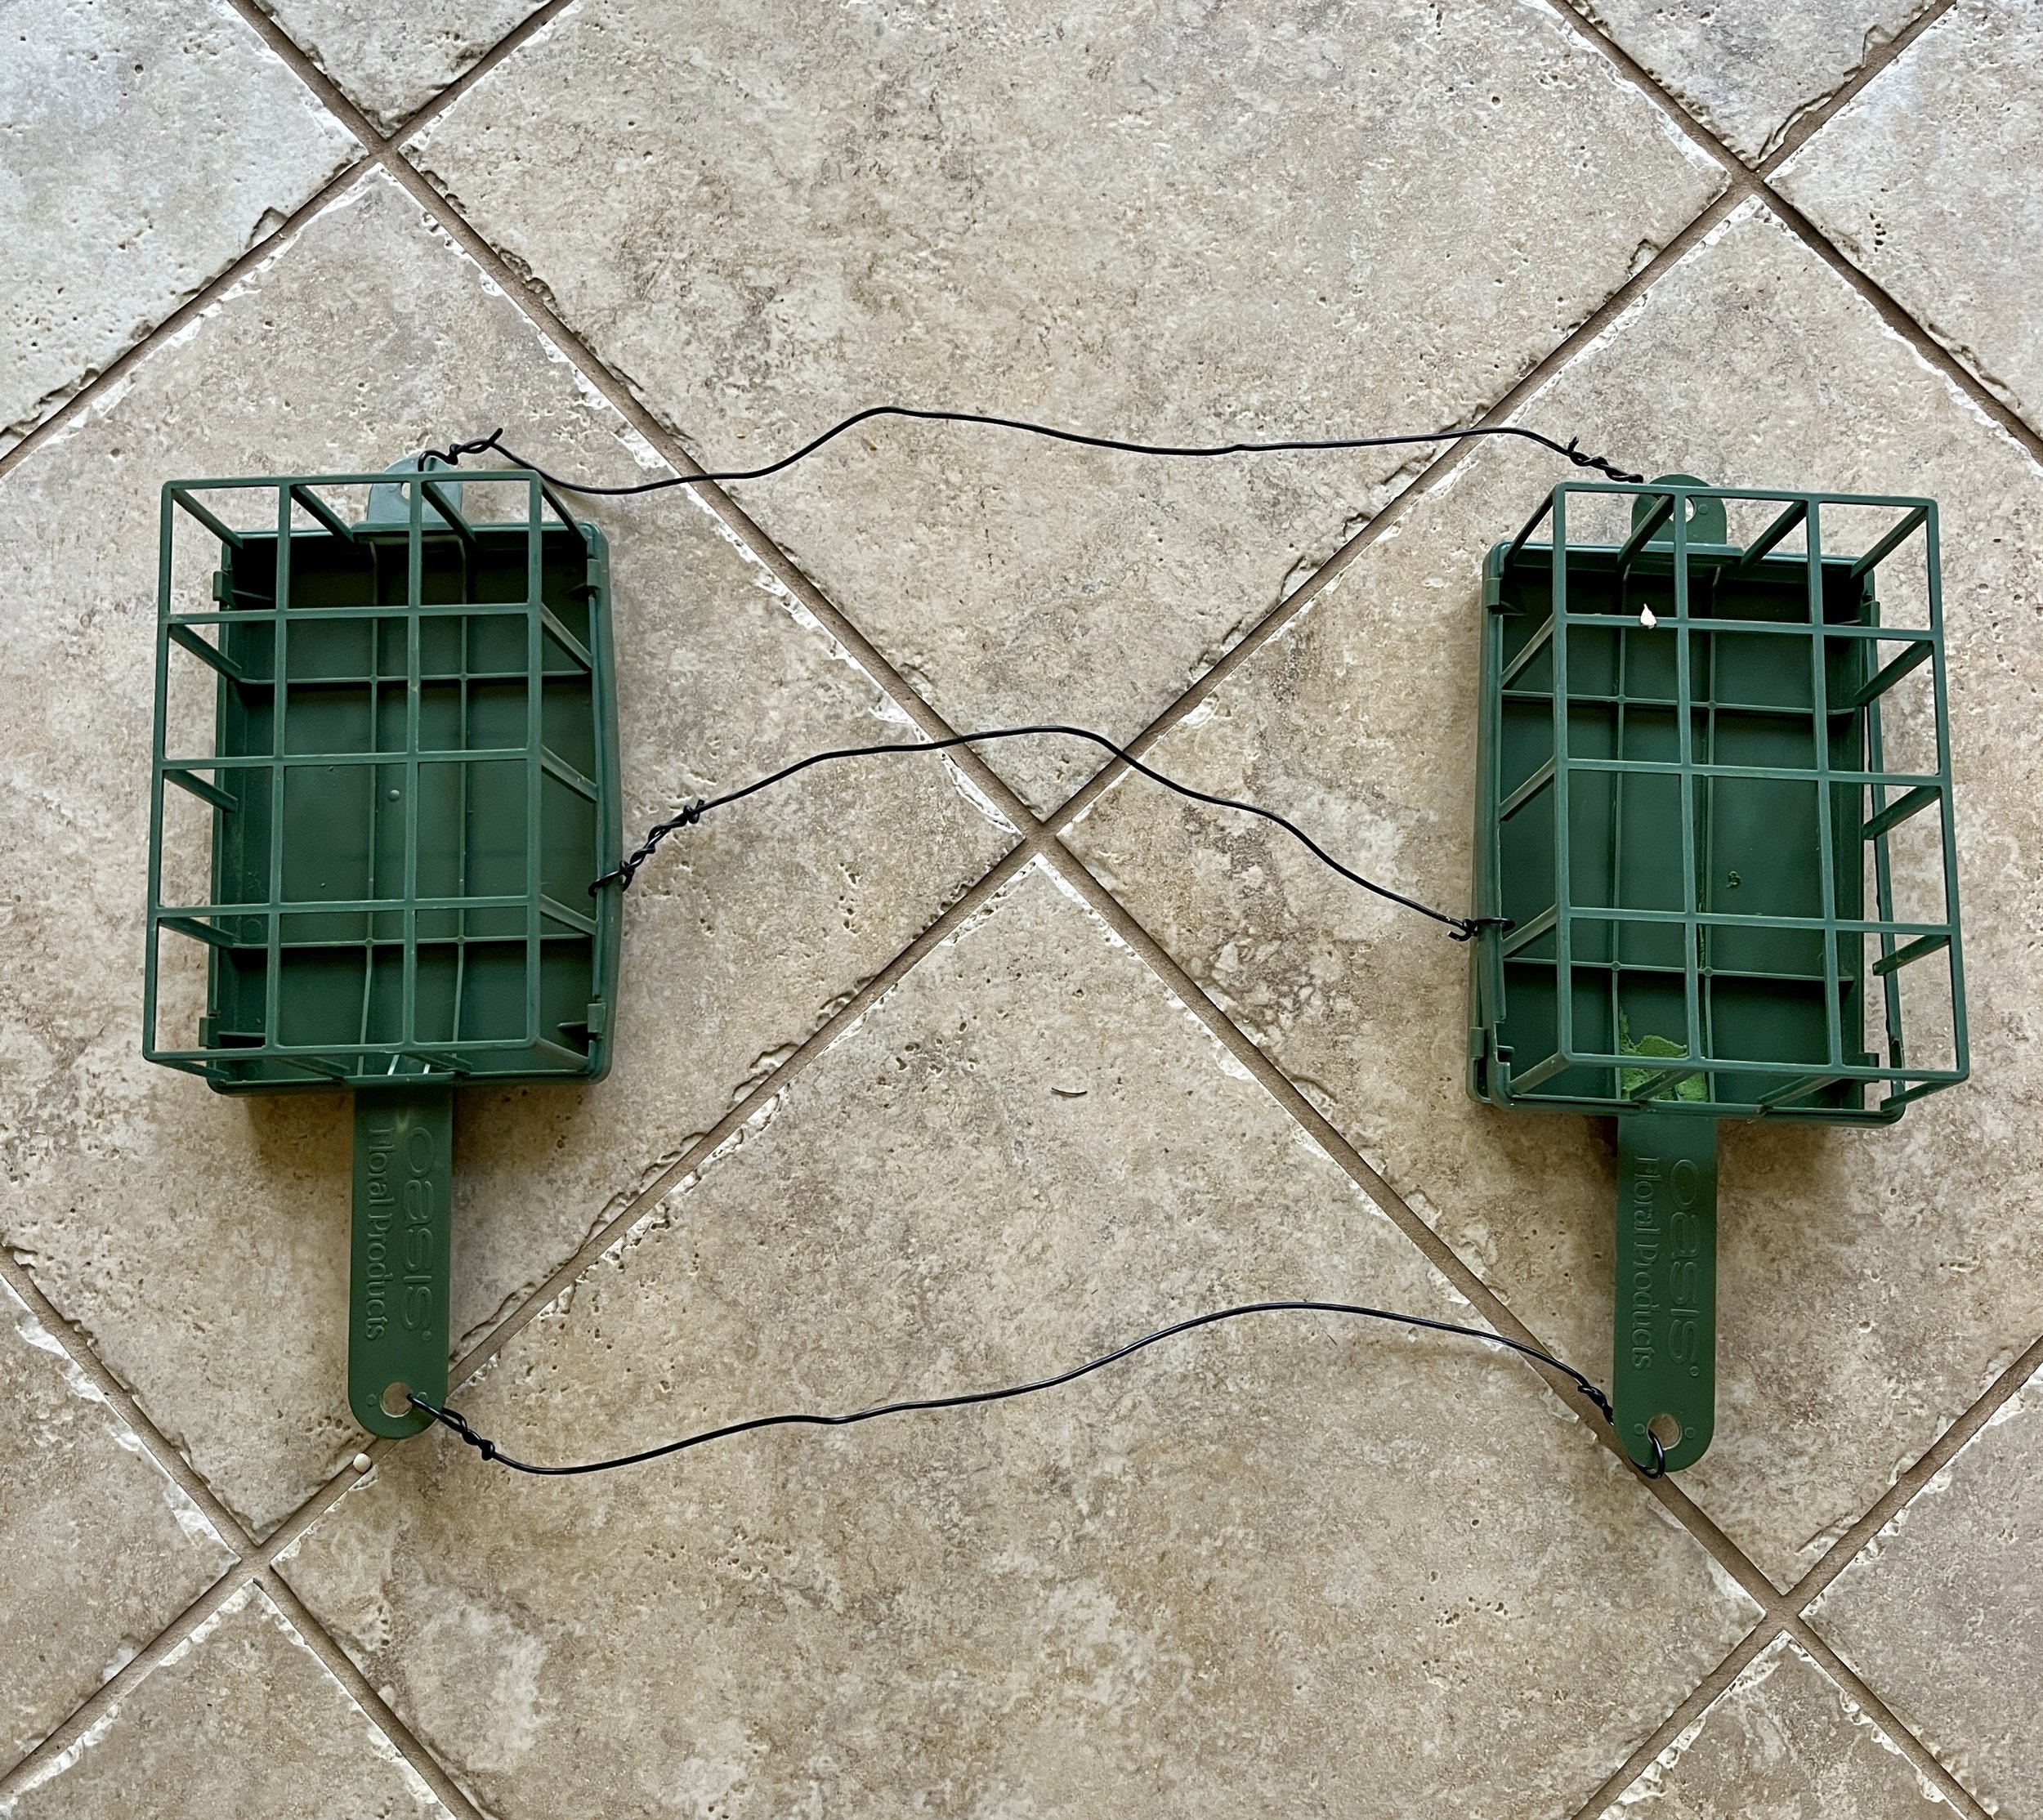
You want two oasis cages and some covered wire. You’re going to measure and attach them so they hang over your mailbox, like two saddle bags on a horse.
Note - I am showing these items on Amazon, so you know what to look for. You can probably buy these from a local florist or craft store.

You’re going to soak the oasis till it’s saturated and cut it to fit inside the cages. Snap the cages back on, on top of the oasis.
Note - I know that Oasis isn’t the most earth friendly material. This is probably the only time I use this, anymore. Even though it makes floral arranging much easier, I am doing my best to avoid it.

Here’s what I am currently using for color and interest. Pinecones, osage oranges, apples and lemons. I usually use four pinecones, but my other two were not in good enough shape to use this year. I use these faux fruits and cones, and glue gun the wooden skewers to the base of them. The nandina berries have their own “stick.”
You can use any combination you want! I may change it up next year - maybe add regular oranges and definitely more pinecones and maybe something else - not sure what? You also don’t have to use really great faux things - it’s outside and seen quickly, as people drive or walk by.

I carry it all out there in a wheelbarrow. This year I used magnolia, holly, cryptomeria, Fraser Fir (clippings from the Christmas tree lot), and some Leland cypress from my wreath workshop. I usually use boxwood (see first image) but since mine are suffering from something, I did not want to cut too much off of them.
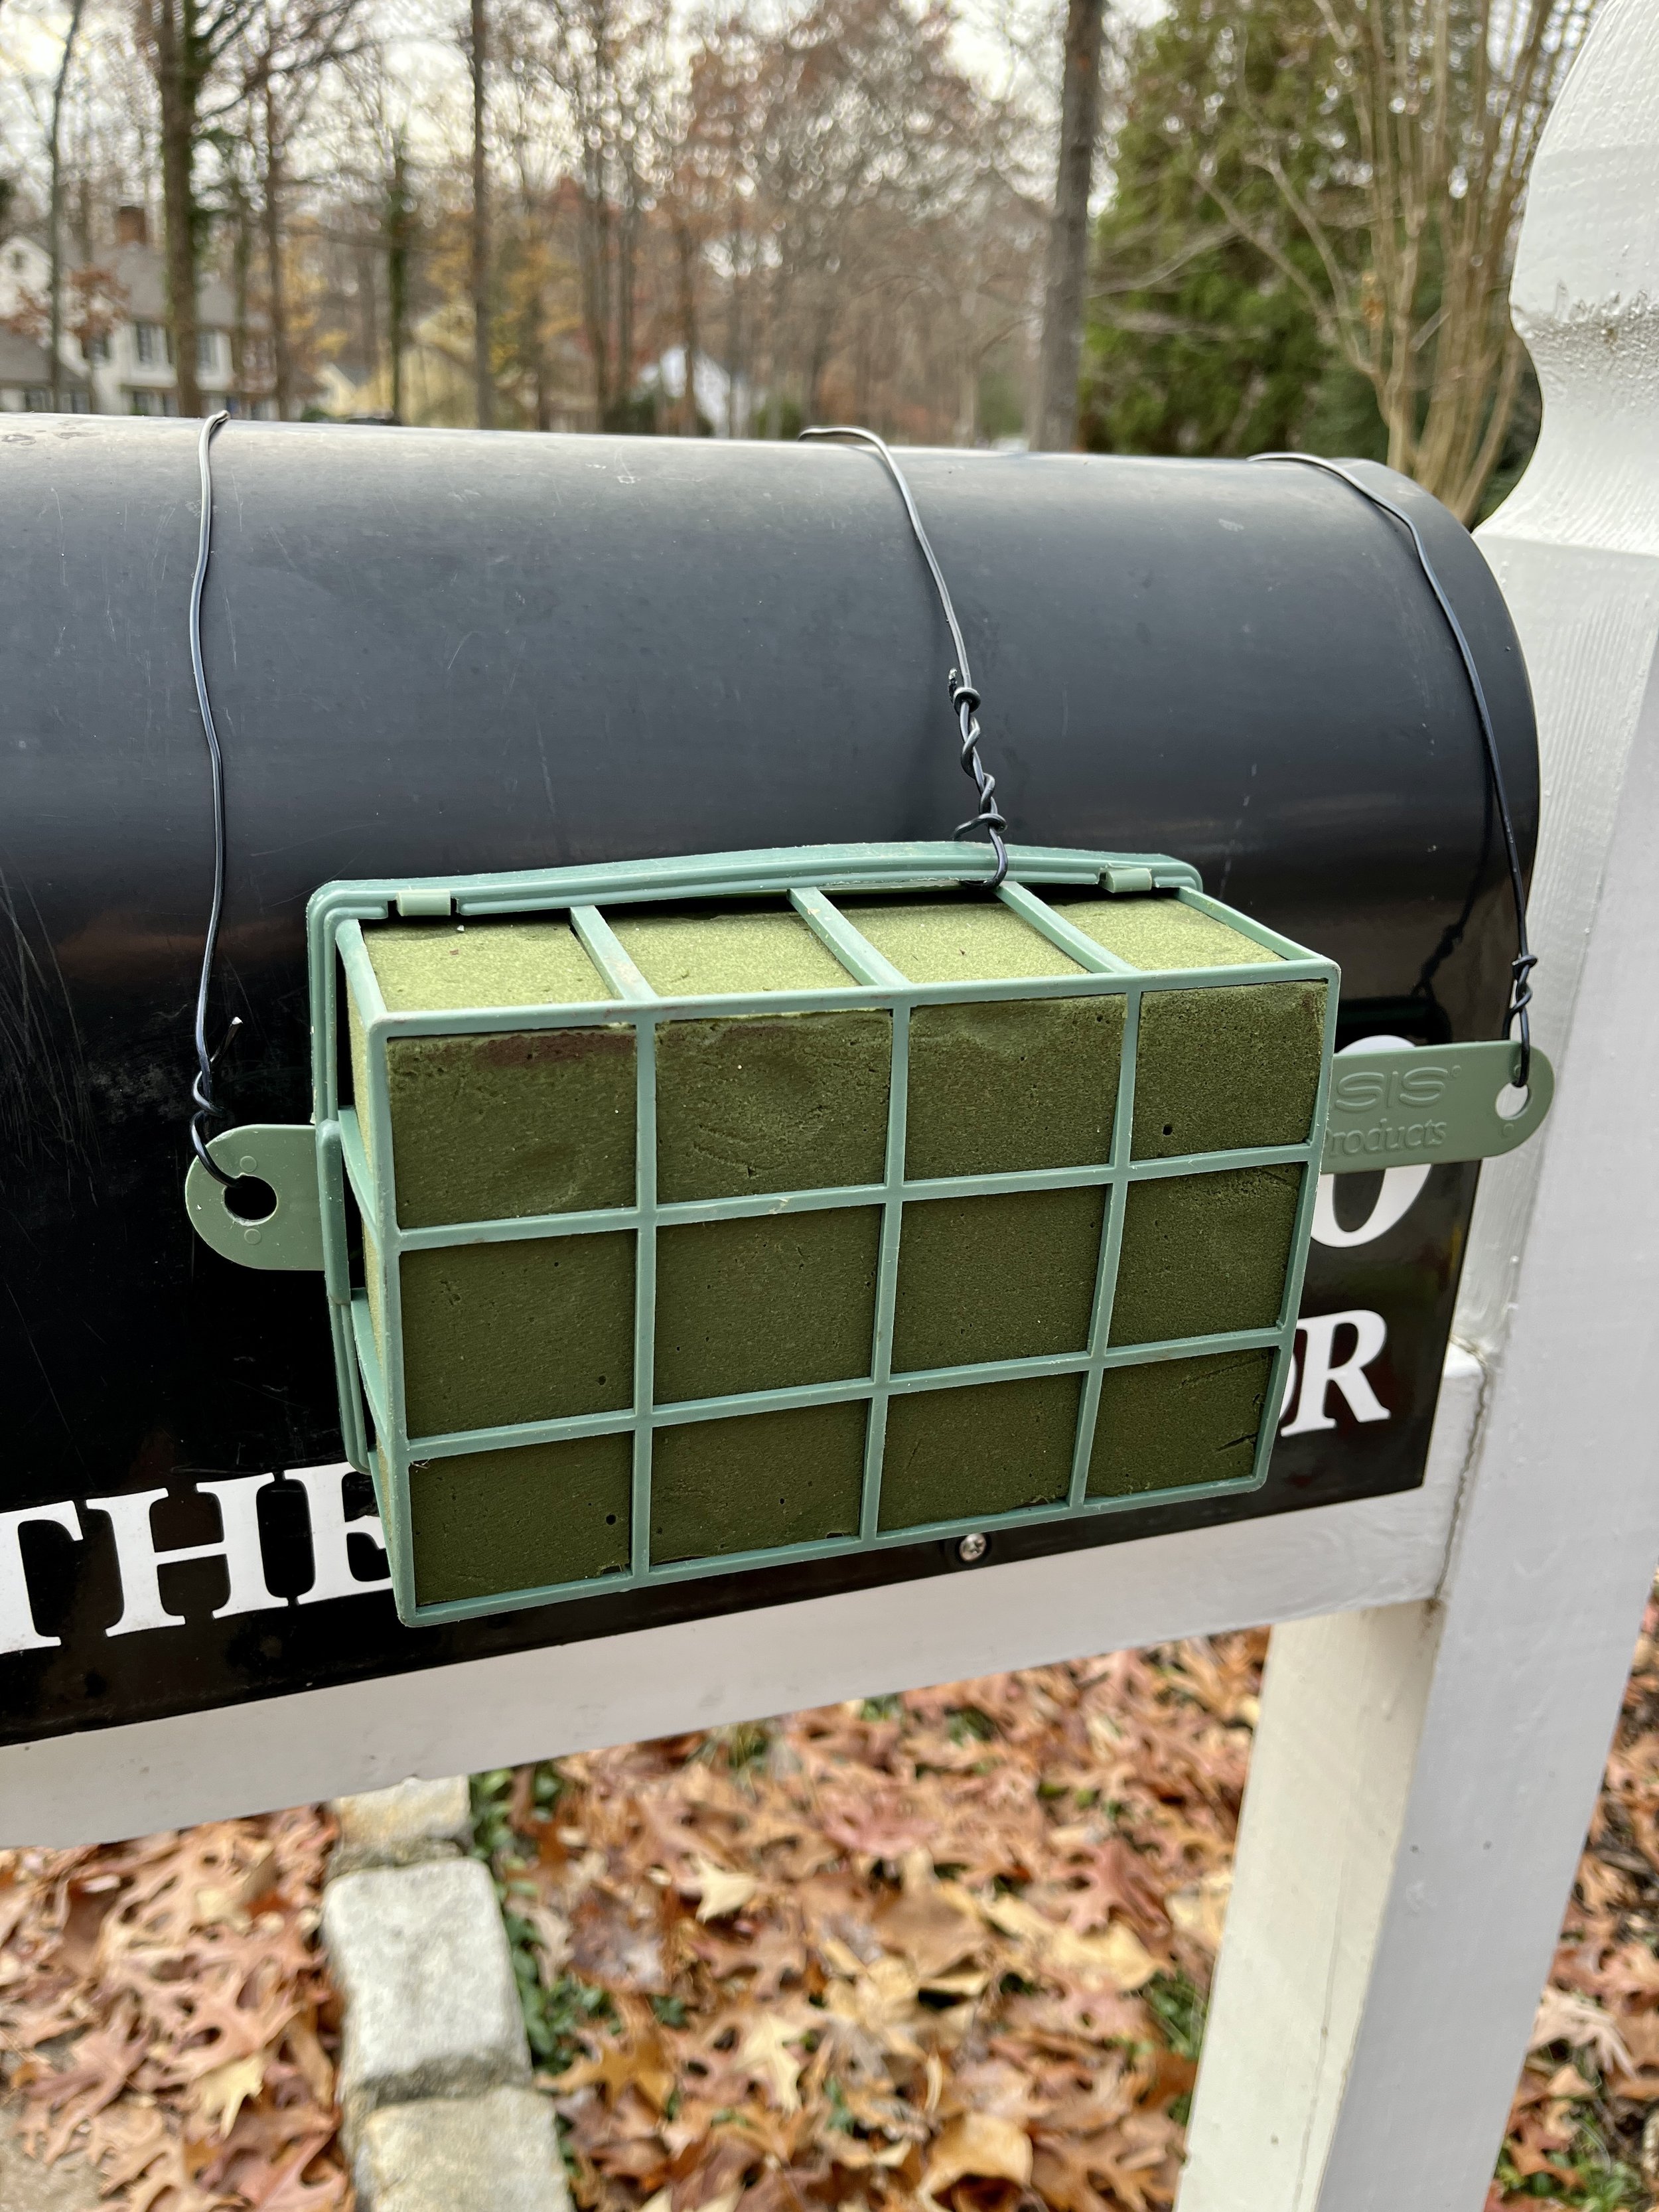
Here are the cages hanging on the mailbox.

The view from the top.
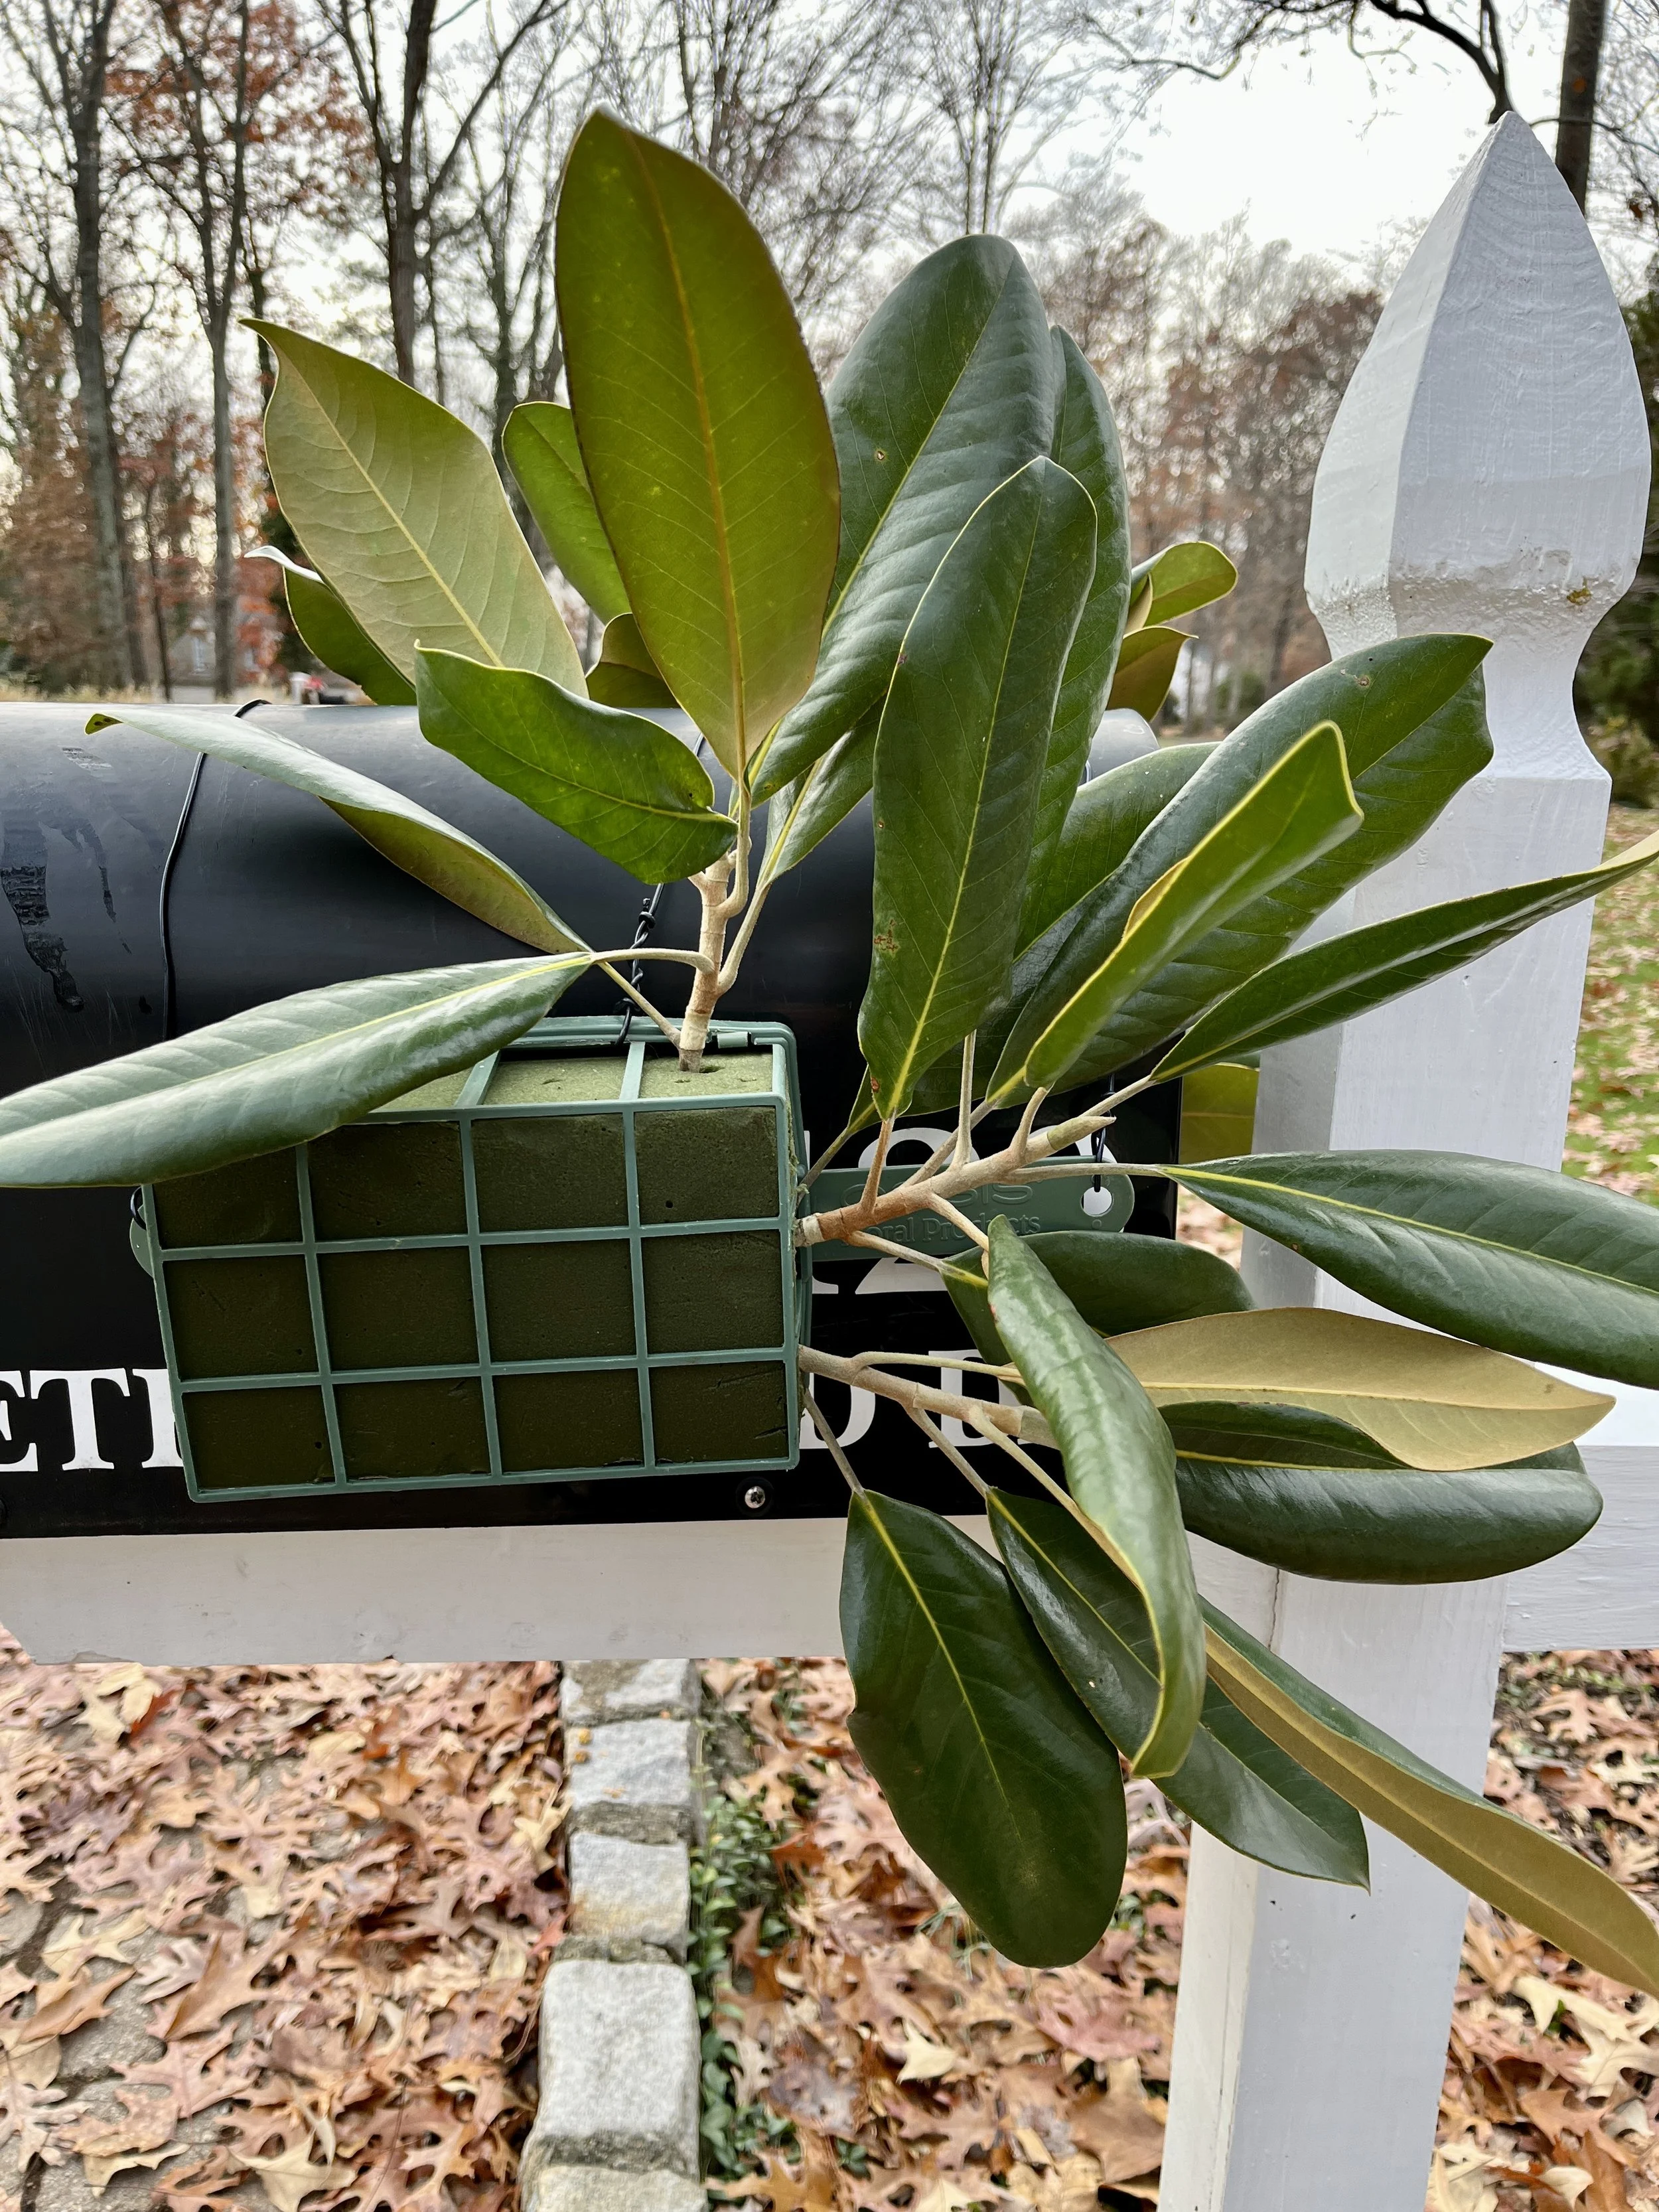
I first put in pieces of magnolia, to make a backdrop and start to give it a shape. If you use magnolia, try to get the classic kind with the brown velvety underside, like Bracken’s Brown or Little Gem. Ours is a Sweet Bay magnolia, so not as pretty. But I didn’t plant it - it’s 60 feet tall, so not going anywhere.

Then I add pieces of Fraser Fir for more texture and to add more structure. You need something stiff for this. Any evergreen fir will do. You should still have the front 1/2 of the cage showing.

Now I’m filling in all the holes with cryptomeria ( Japanese Cedar). You want something that’s droopy and drapey.
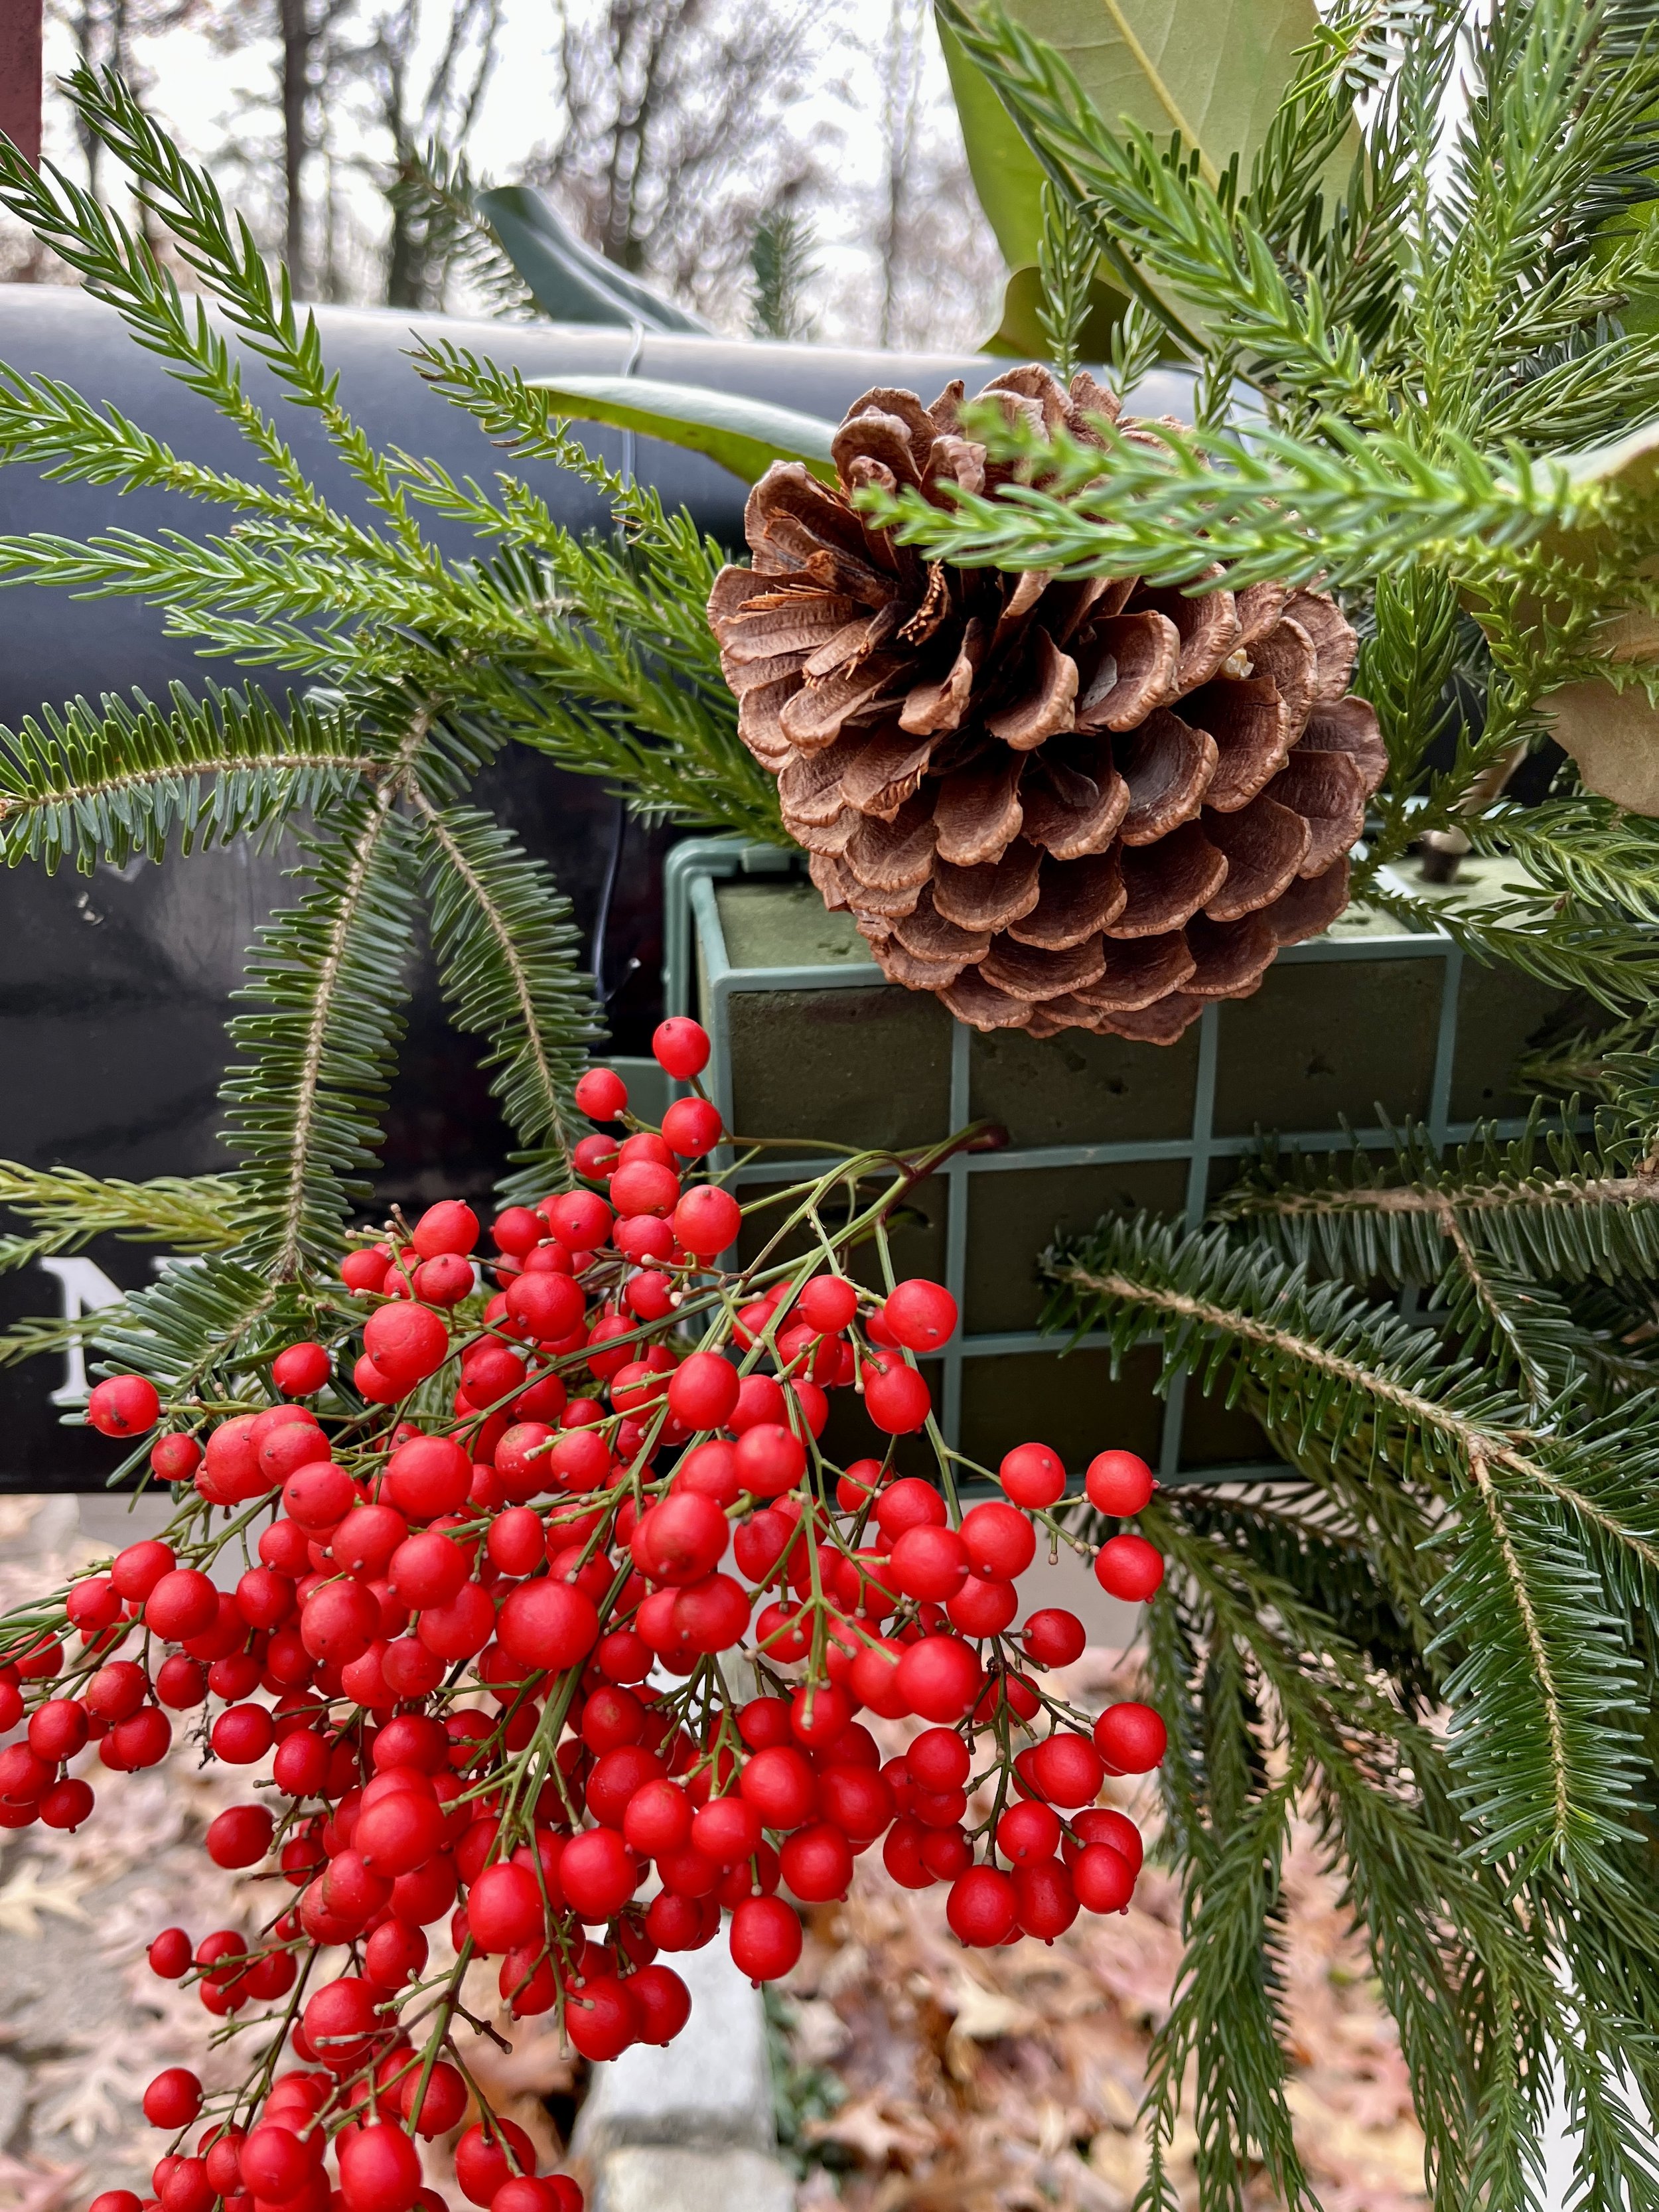
Now you want to start adding your color and interest. I added the pinecone and the berries first this year. I should’ve divided the berries like I did last year (see first image again). And I really should have another pinecone here, but c’est la vie.

Now we’re adding the rest of the fruit and some small pieces of holly for interest.

You want to cut all the leaves off the bottoms, for clean stems to stick into the floral foam.
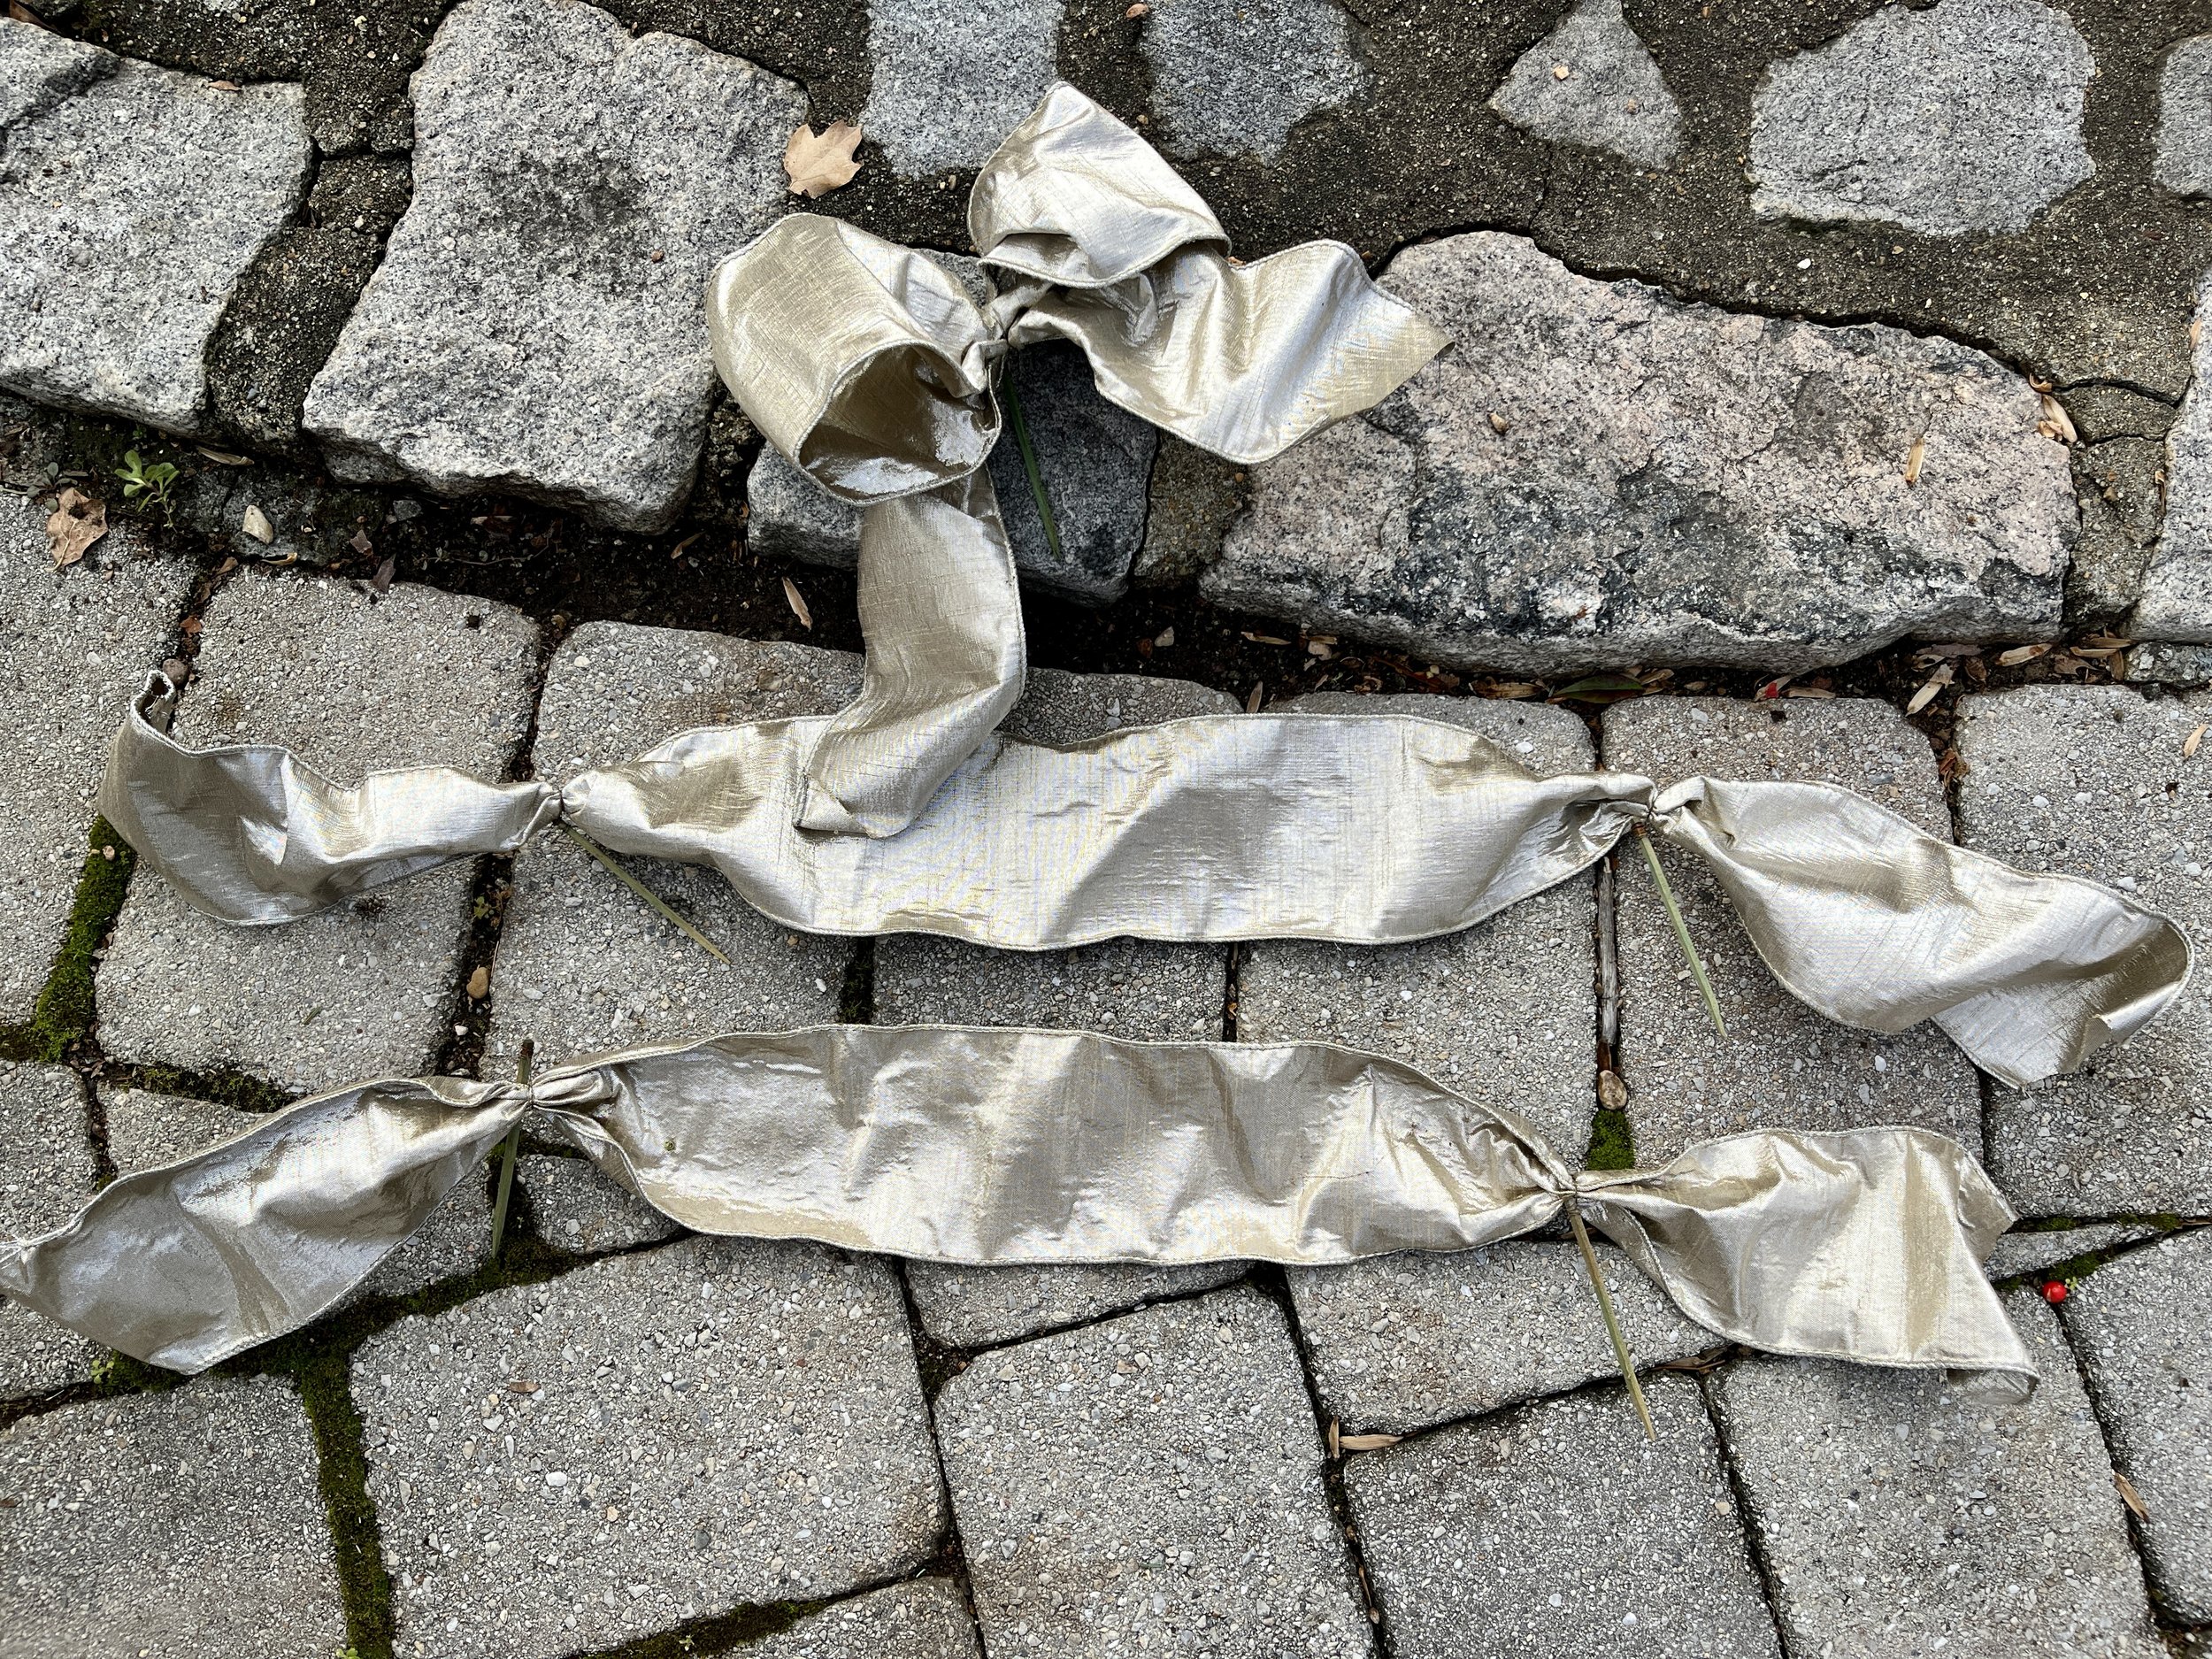
You want two pieces of ribbon about 20 - 24” long and also a bow of same ribbon. You need to get small wired picks and gather the ribbon as shown, 1/4 of the length from the ends. You wrap the wire around the ribbon, so that you can stick the picks into the foam. The ribbon weaves it’s way through the greens and looks like it’s sort of floating through your arrangement.


You’re then going to put the matching bow at the top of the mailbox and I usually affix it with the covered wire holding the cages. It should look like the bow’s on top with the sides cascading down. It usually lasts well into January. I take the ribbon out after Christmas.
Voila! There you have it.
NOTES…
The first image is from last year, when I had a lot of yellow arborvitae greens from a wreath workshop, another pinecone and more berries. Every year’s is a bit different.
You can do this for any occasion for any time of year! Follow the same formula with seasonal greens from your yard or the florist, and add flowers or other seasonal fruit instead of what you see here!
I did this for a wedding shower and used magnolia, lemon leaf and boxwood, with white lilies. The ribbon used for that was a giant bow of white tulle.

a bonus - greens in large containers

Really for these, all you need are your greens, plenty of stemmed berries (I use nandina) a 20 - 24” stake/skewer for the berries and some floral tape.
I start out with magnolia again, to make a structure to build on. This is two or three large stems in the middle of the planter.
You will notice my little pansies are still in there. They will be ok. This helps them overwinter, and protects them from the deer! When I pull all this out in mid-January, they will still be there.

OK - now I’ve added some Fraser Fir - any evergreen fir will do - and some large stems of holly. If it starts looking wonky, you just move it around until you like the way it looks.

Here we are after the cryptomeria has been added…

Now I’ve added the last bits of yellow arborvitae I used on my front door wreath.

Here are your berries taped to the stake with floral tape. You should use waterproof tape, like what I linked up to. Each stake should have 5-6 clusters of berries. You want them to flop over in all directions at the top of the greenery.

I just stuck the berries/stake down in the middle of the greens, sitting up a little higher. The last thing I did was stick some stems of cypress around the base to flop out and soften the edges. I probably didn’t use enough this year, but you get the idea.
All Done!
I hope you enjoyed my “how to's”. Now I gotta go blow some leaves…