
Reupholstering The Bed & The Vision
I did get a new piece of furniture for the bedroom last spring, after all the construction was done.

When the magical bed arrived, it didn’t look quite like it did in the pictures on the website. I still loved it, but it had a different vibe than I wanted for the room. It was more tailored and neutral. Very handsome but waaay darker. My goal was a soft, calm, oasis with pretty color and a little whimsy. I don’t like anything incredibly typical. Tasteful, yes - typical, no.
Hmmmm, I was SURE I could reupholster it to make it look like I wanted. How hard could it be? I would soon find out. My friend calls it “wang, dang, doodling” when we make something that’s not quite right look exactly like we want. And that’s what I set out out to do…
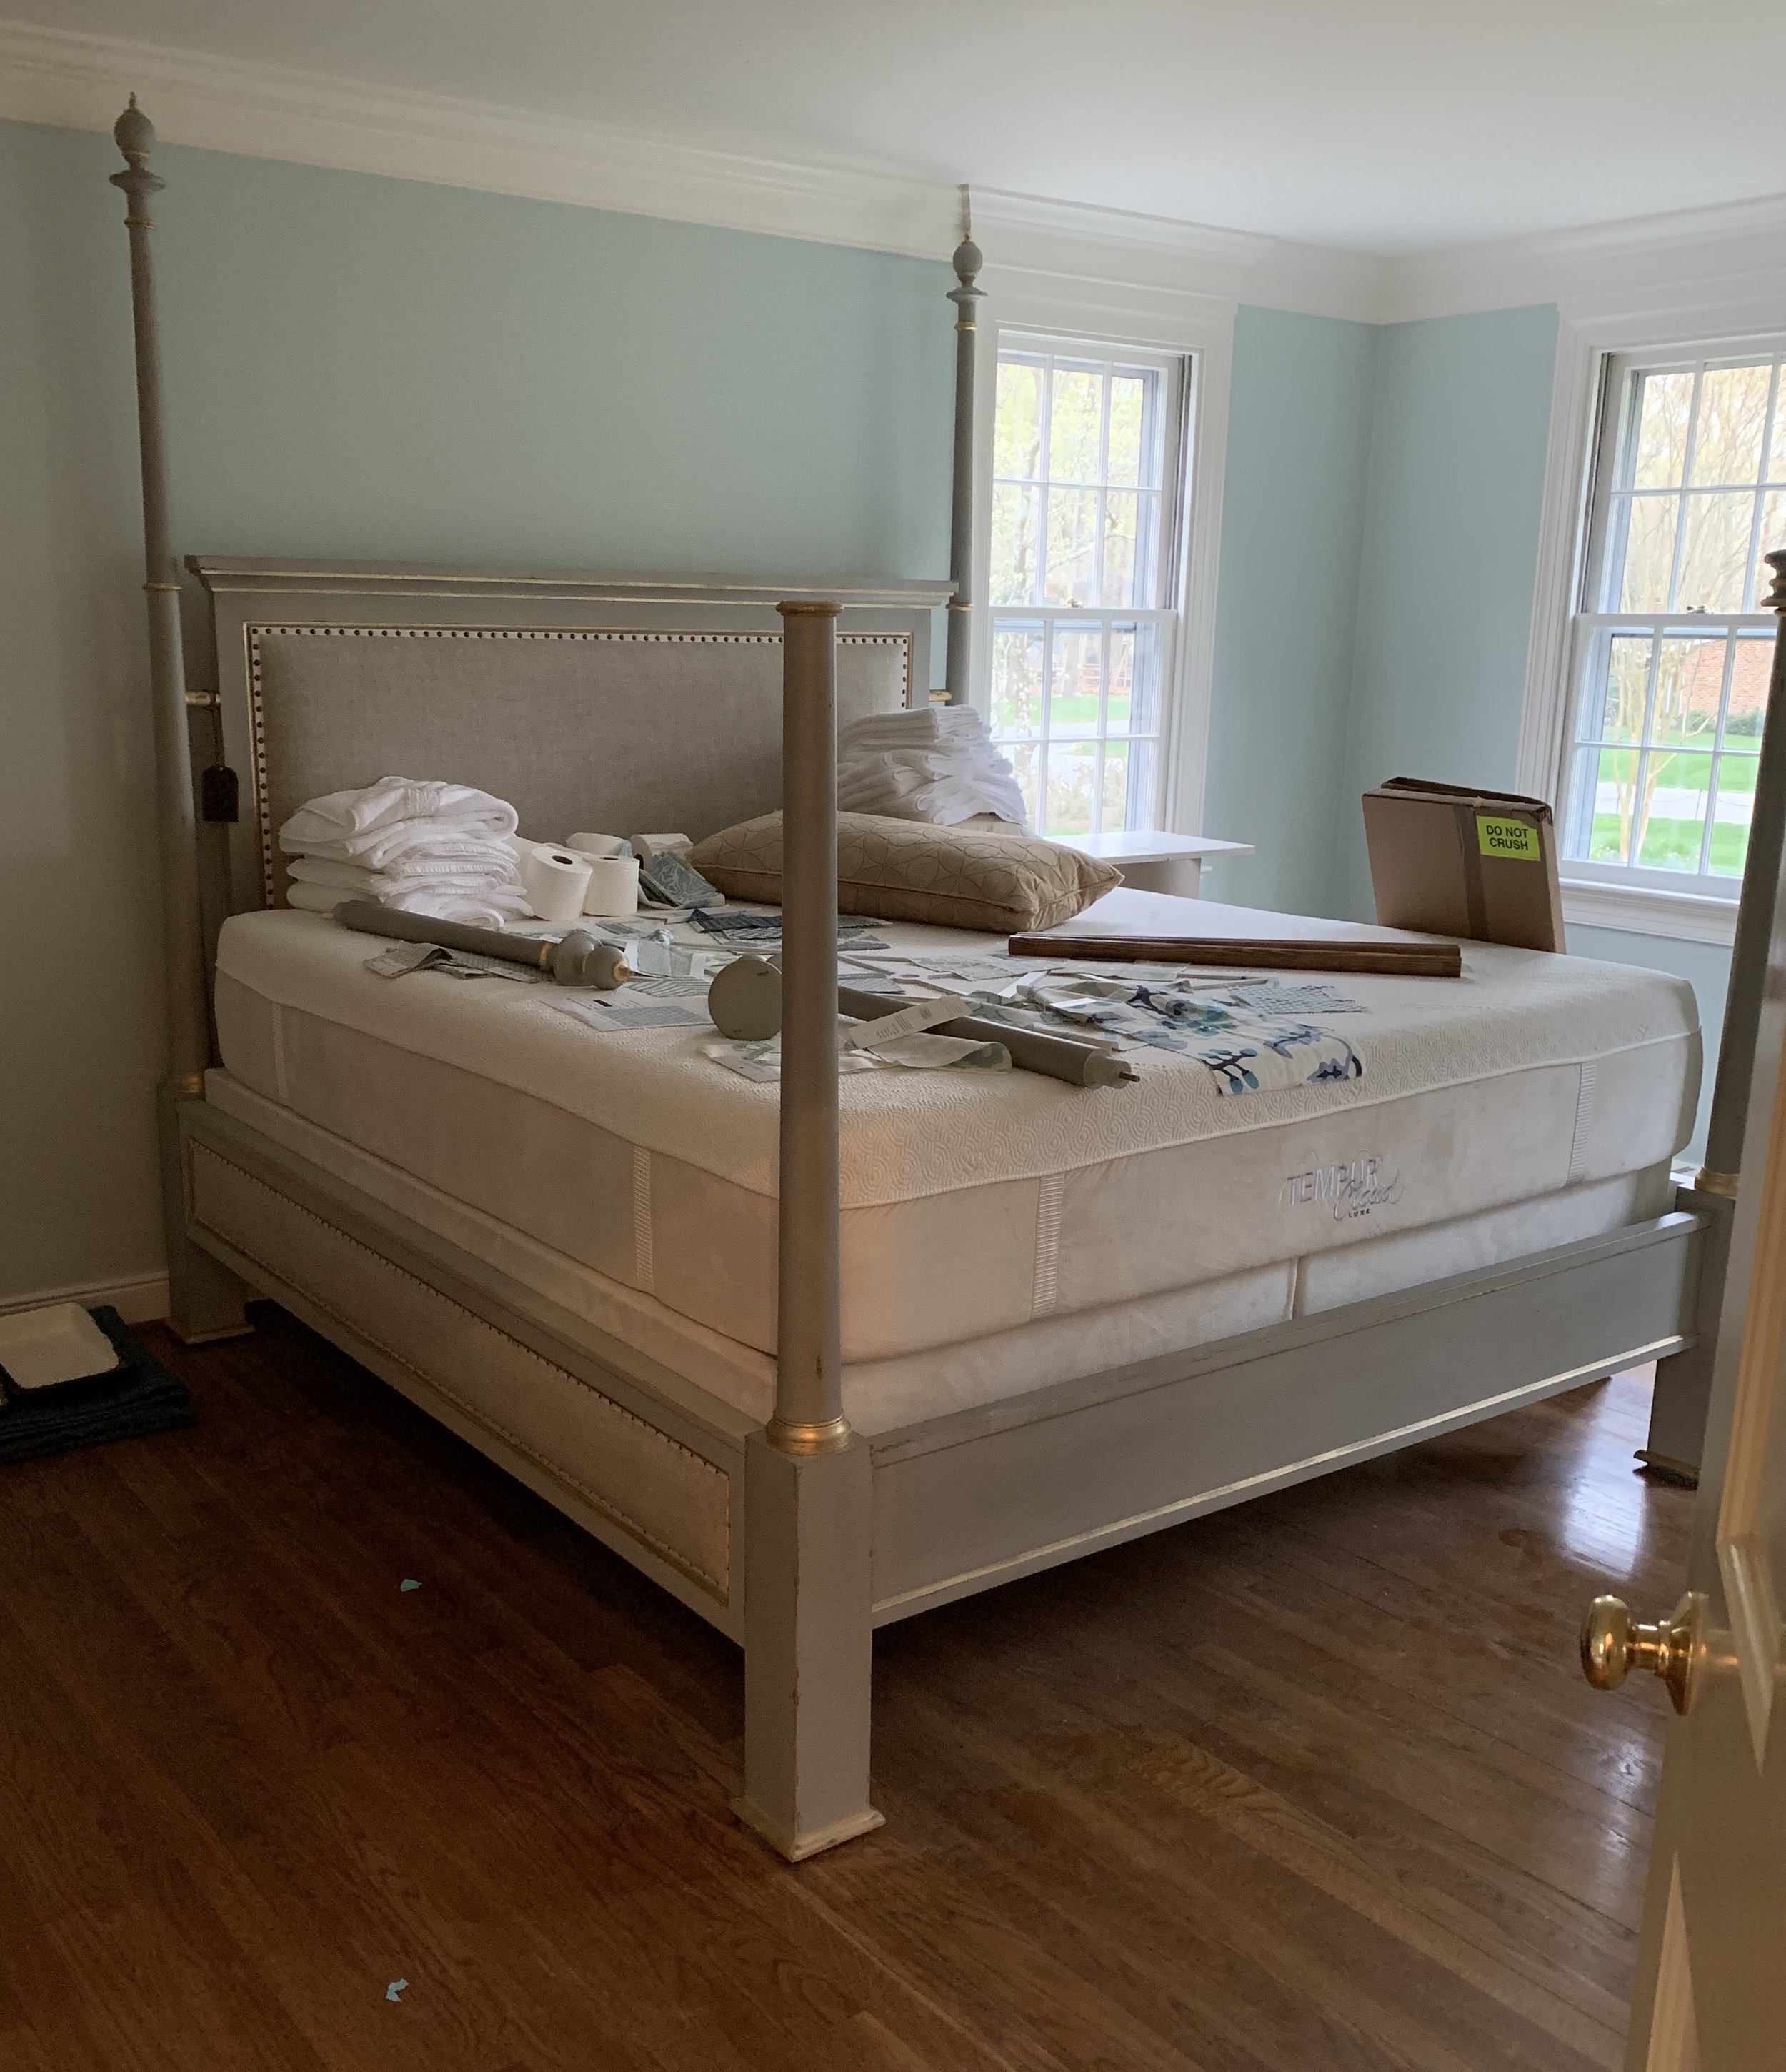
See what I mean? Just not quite what I thought I was getting…


Here’s the head board and side rail that needed to be reupholstered. When I bought the bed, I didn’t know the side rails were upholstered - because the picture doesn’t show that!!! Crap! So here we go…

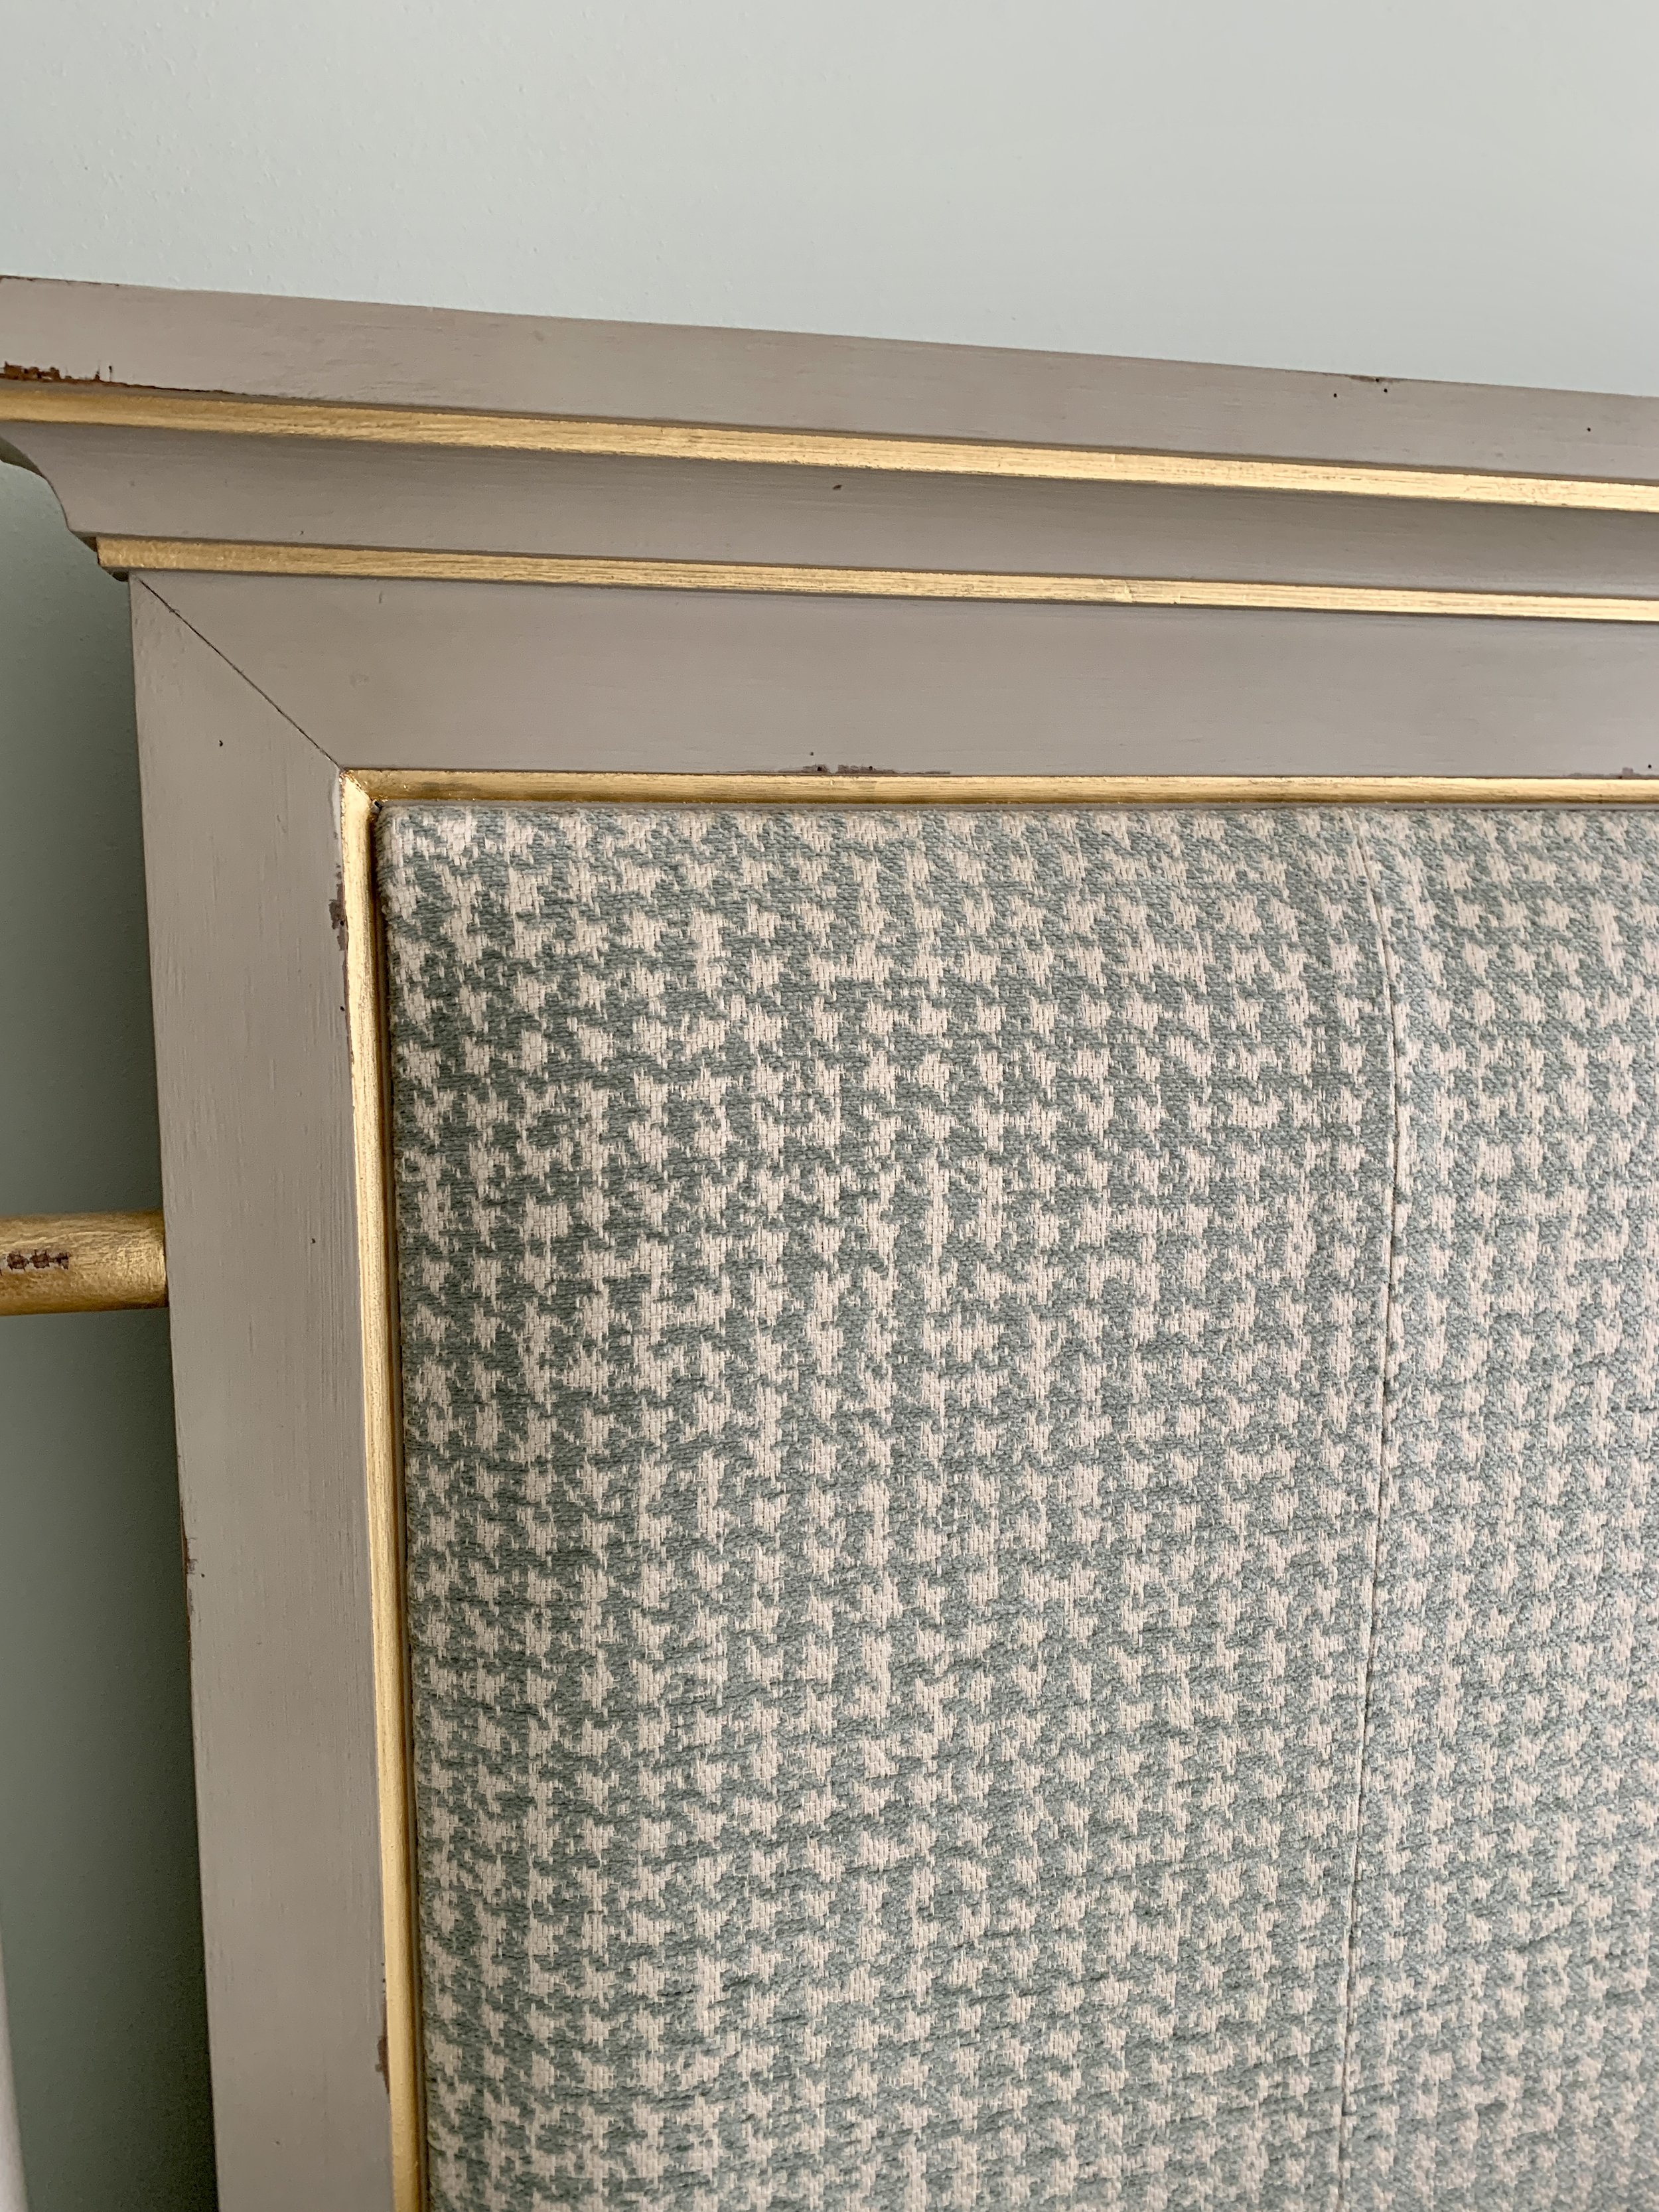
I picked this Robert Allen houndstooth called Scottish Check in patina. Because I love houndstooth and this color looks nice with the wall, but still went with the gray on the bed. And it softens the bed up.

I assembled my staple gun, sharp sissors, and several screwdrivers and tiny pliers.

First I had to take the headboard off the bed - Chip helped me with that. Then I took all the nailheads and fabric tape off. I didn’t take pics of that, but it was pretty straight forward - wrenched them off with a screwdriver. Then I had the original linen left on the headboard. I left that there for possible future use somewhere and also it was so time consuming to take that all off - I decided to just cover it with my fabric.
I had to piece the fabric, because it wasn’t wide enough to cover with one width. I pieced it where it would be pleasing to the eye - I just eyeballed it - I think I went with 1/4 width on either side and 1/2 centered in the middle, adding in fabric for depth and some for back to cover linen staples. I sewed these three pieces together.

I marked the middle and started stapling there on the top. You have to flip it around, to go from side to side - so I set it on an ottoman to do this. I went from top middle to bottom middle, doing 3-4 staples at a time, and then from left side middle to right side middle, doing the same. I worked from the middles of all sides, toward the corners, pulling as tight as possible, and checking the front, to make sure the pattern was staying straight. When I got to the corners, you can see in the picture above how I stapled that.

There is the finished board - you can see where I pieced it, and sewed two of the pieces together.

And there it is back on the bed.

Then I tackled the sides. This was a pain in the @$$. I had to use a small screwdriver to loosen and then pliers to pull out these nails - these weren’t nail heads - these were NAILS.
Nailed VERY tightly into VERY hard wood. There were also staples to be wrenched out. And because of the angle and height of this from the floor, I could only do it for about 45 minutes before my back would cramp. (More than once I’m thinking - “why am I doing this??? But there was no turning back now.) Good times.


These represent a week of work. One side only. Just Sayin.
Next I pieced this fabric in the same way - I did this one in 1/5’s I think - 1/5 on each end, and 3/5’s as the middle piece - sorry no pics on that either. Then I started from the middle again and stapled as close to the edge as possible, and I went out to the right and then to the left - doing the whole top first. (My friend Amy told me how to do this - I would NEVER have figured this out on my own.)

This shows what the it looked like after I did the top. It’s stapled securely and just hanging there.

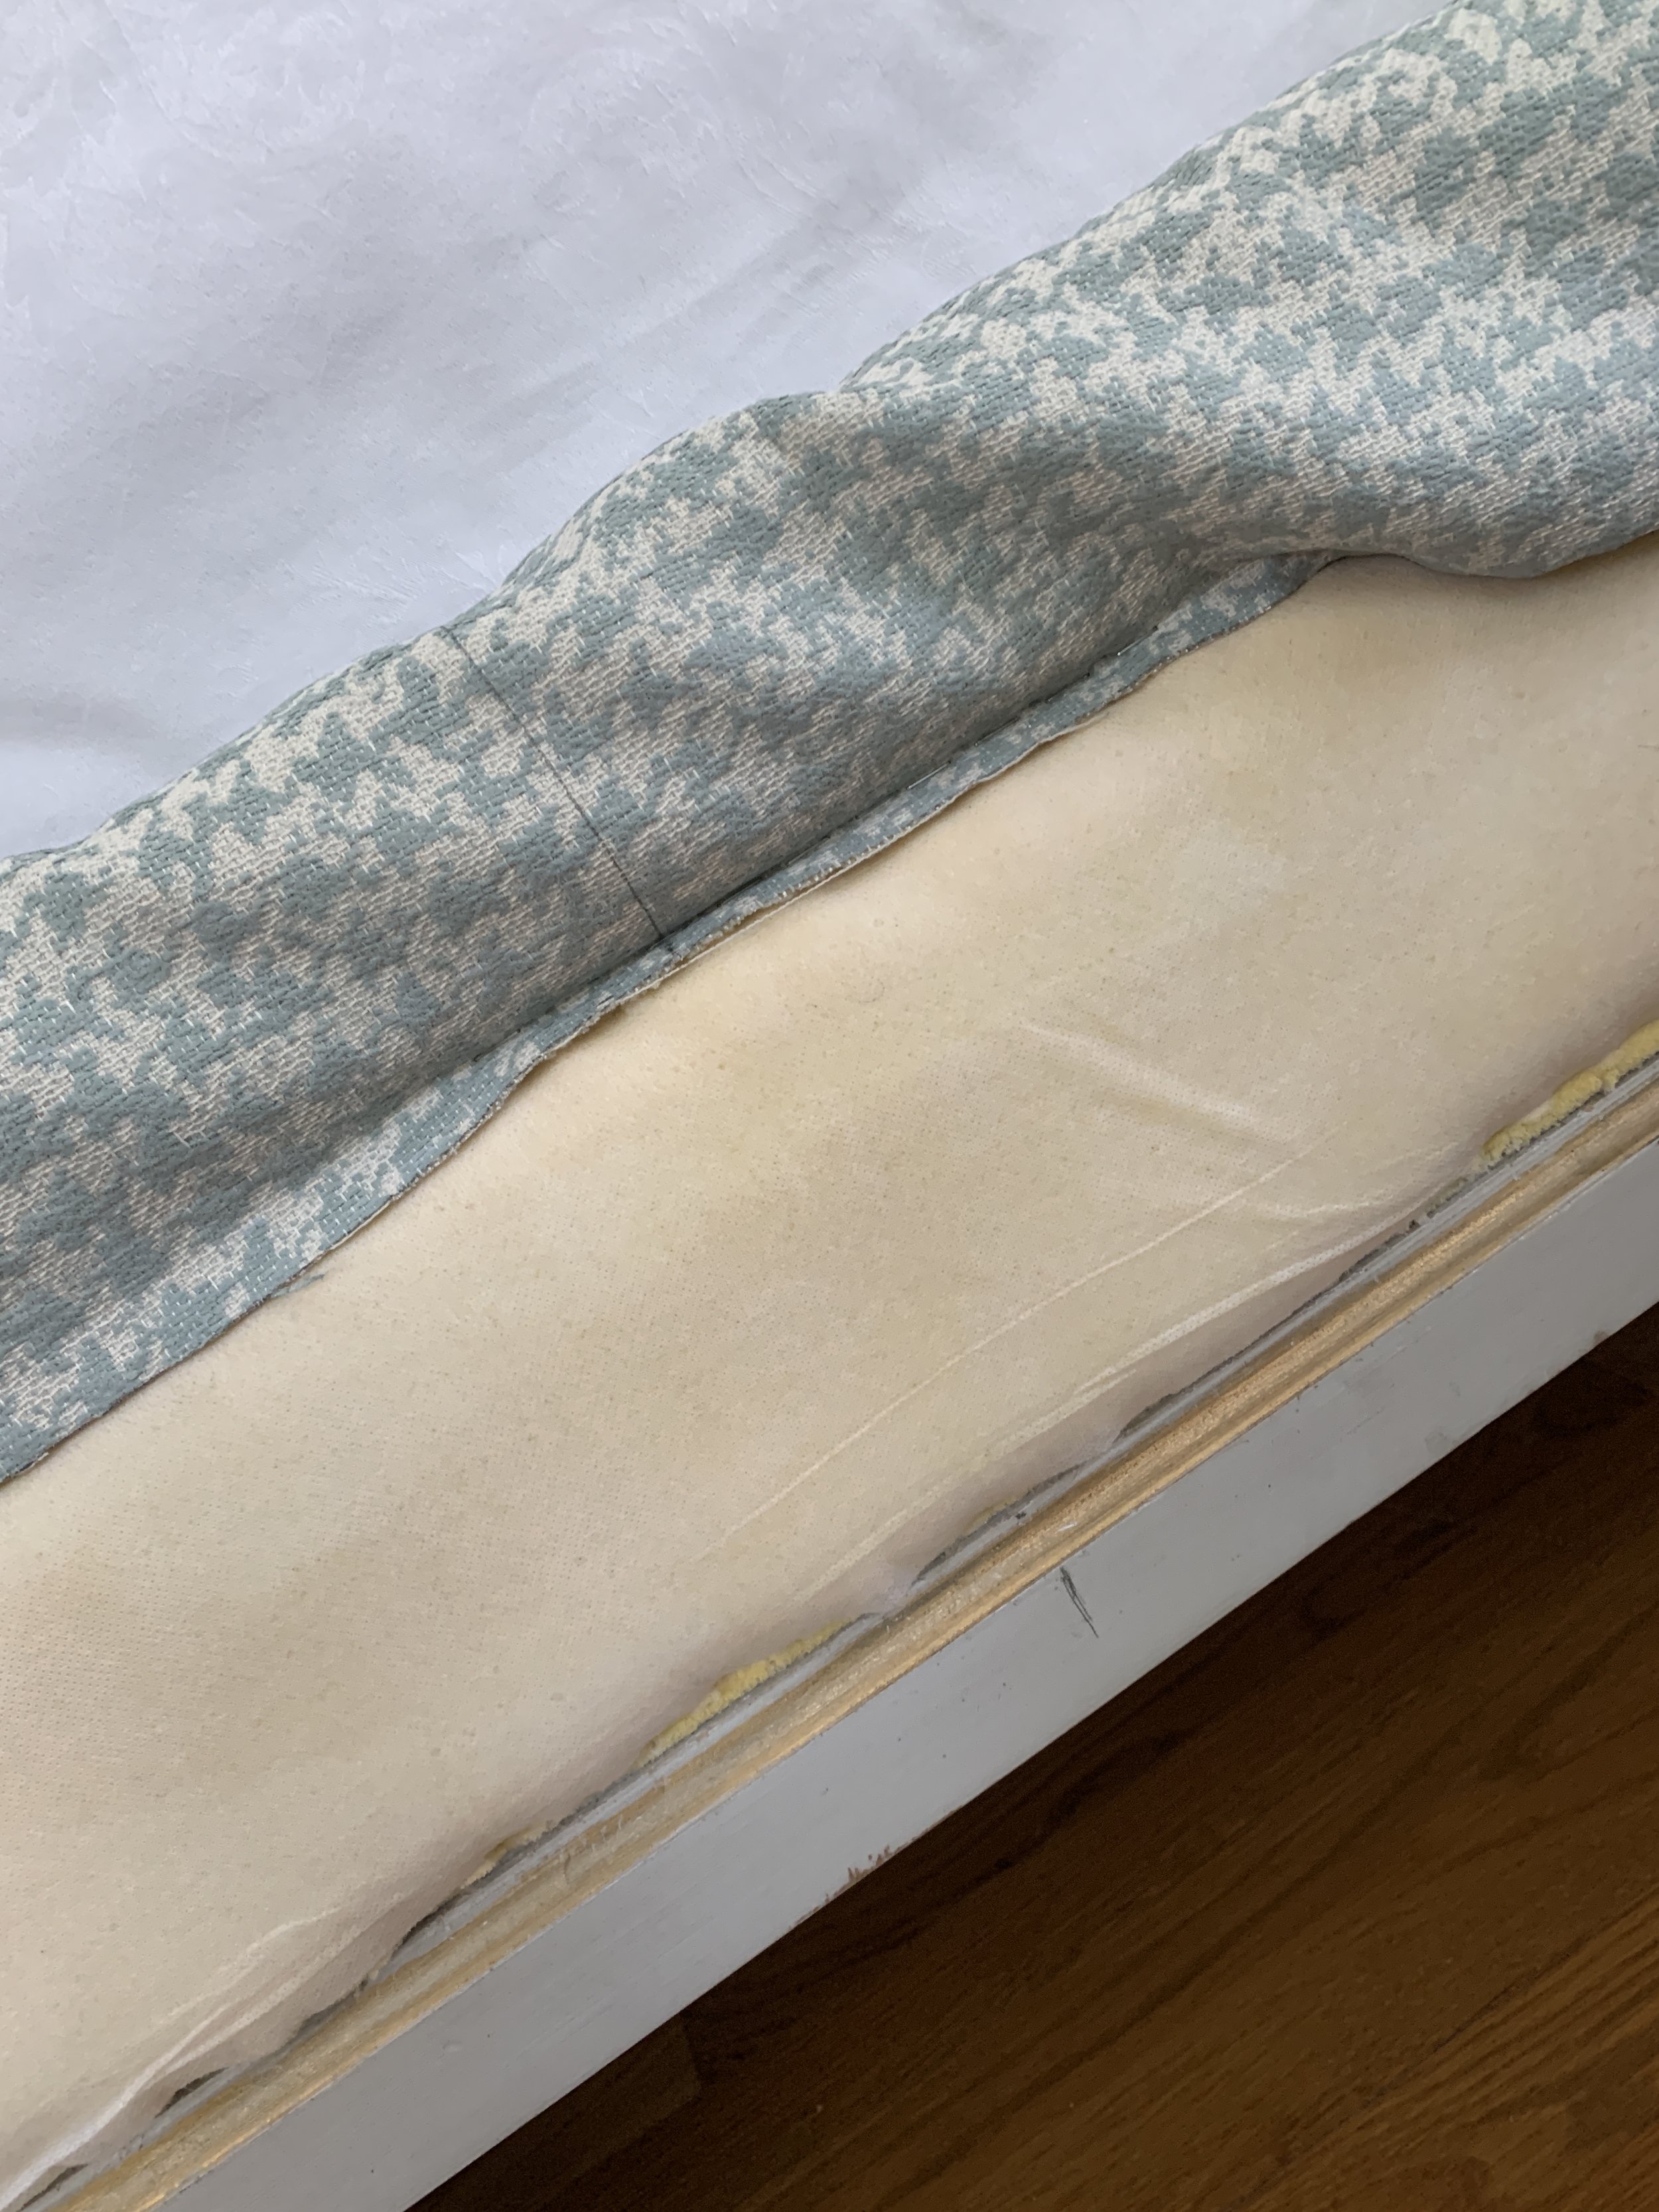
Then I went back and started in the middle, by the mark and folded it under and stapled this as well - following the pattern and getting it as close to edge as possible. This was much harder than the top. And these staples cannot be hidden. I did the sides last and they were even harder. I just kept at it until they looked ok - I didn’t take pictures of that part either.

This shows you the finished side, but you can still see the staples on the bottom and the sides. I had to cover that, so I found 1/4” velvet ribbon and matched it the best I could (I could not find a perfect match - it all looked greenish to me) and glued it on the edges. Very discreet and hides the staples.

So that was that. The second side went a little faster but not by much.

This is the fabric I picked out for the drapes. It is a Fabricut fabric. I have not had them made yet - I just got the fabric, in case it was discontinued or impossible to get these days.

And the redecorating ended there. These are the swatches I still have for the room. I still need a rug, I need to have the drapes made, and lamps, art, bedside tables, a corner chair, and hopefully a desk and chair. I’m not kidding when I say we didn’t keep anything - it was almost all just make-do stuff I threw in there when we bought the house.
I still need alllll the things.
I’m starting with the rug and going on from there. If you have any good sources for bedside tables - tell it to me! Stay tuned…